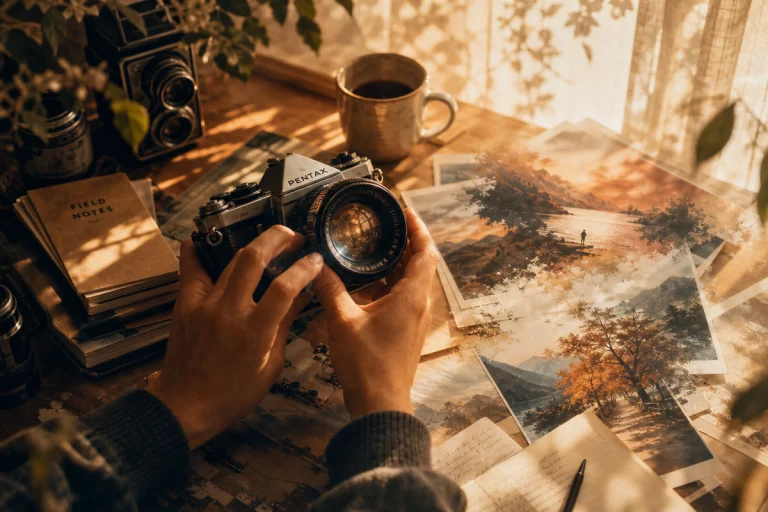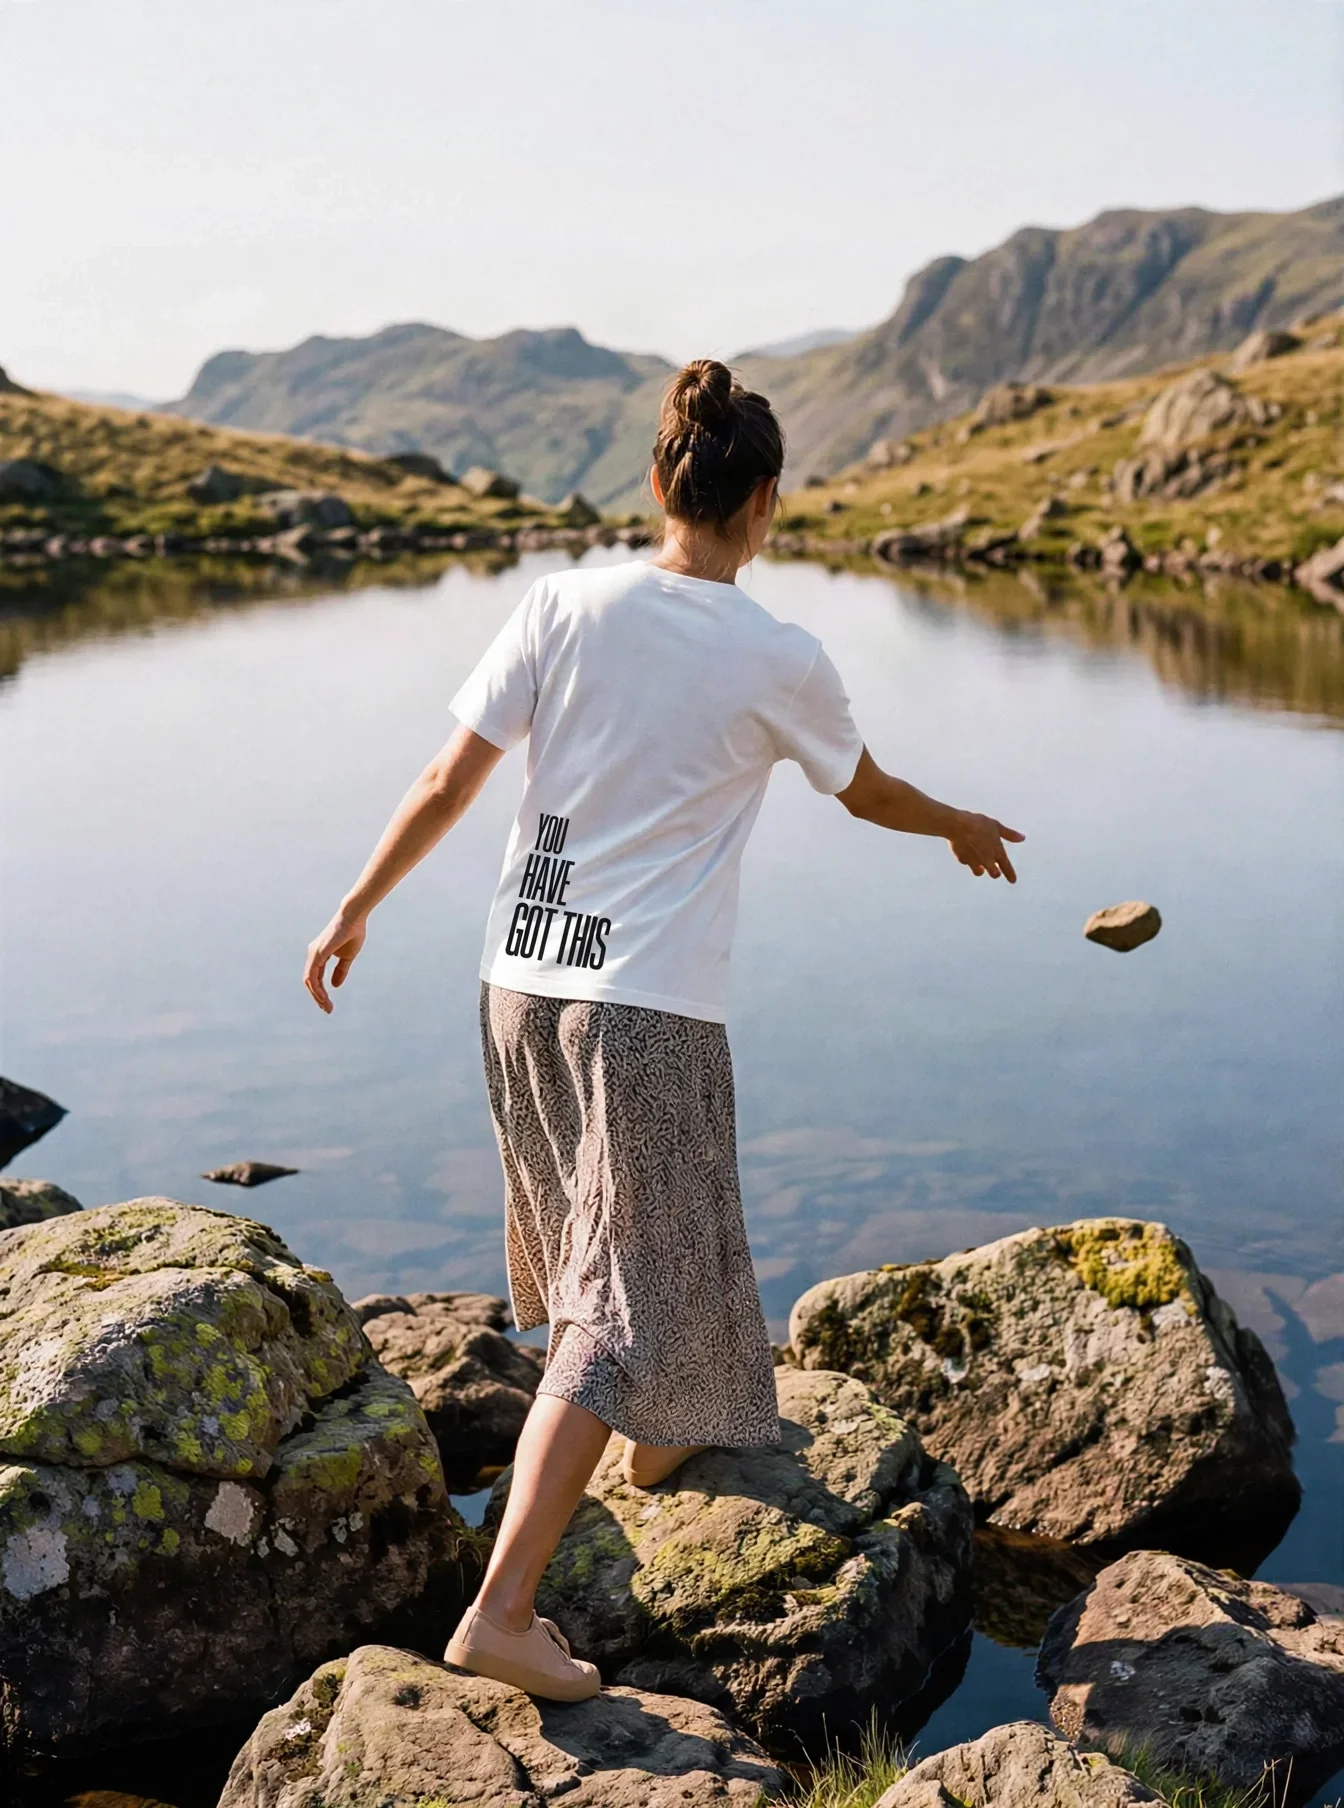
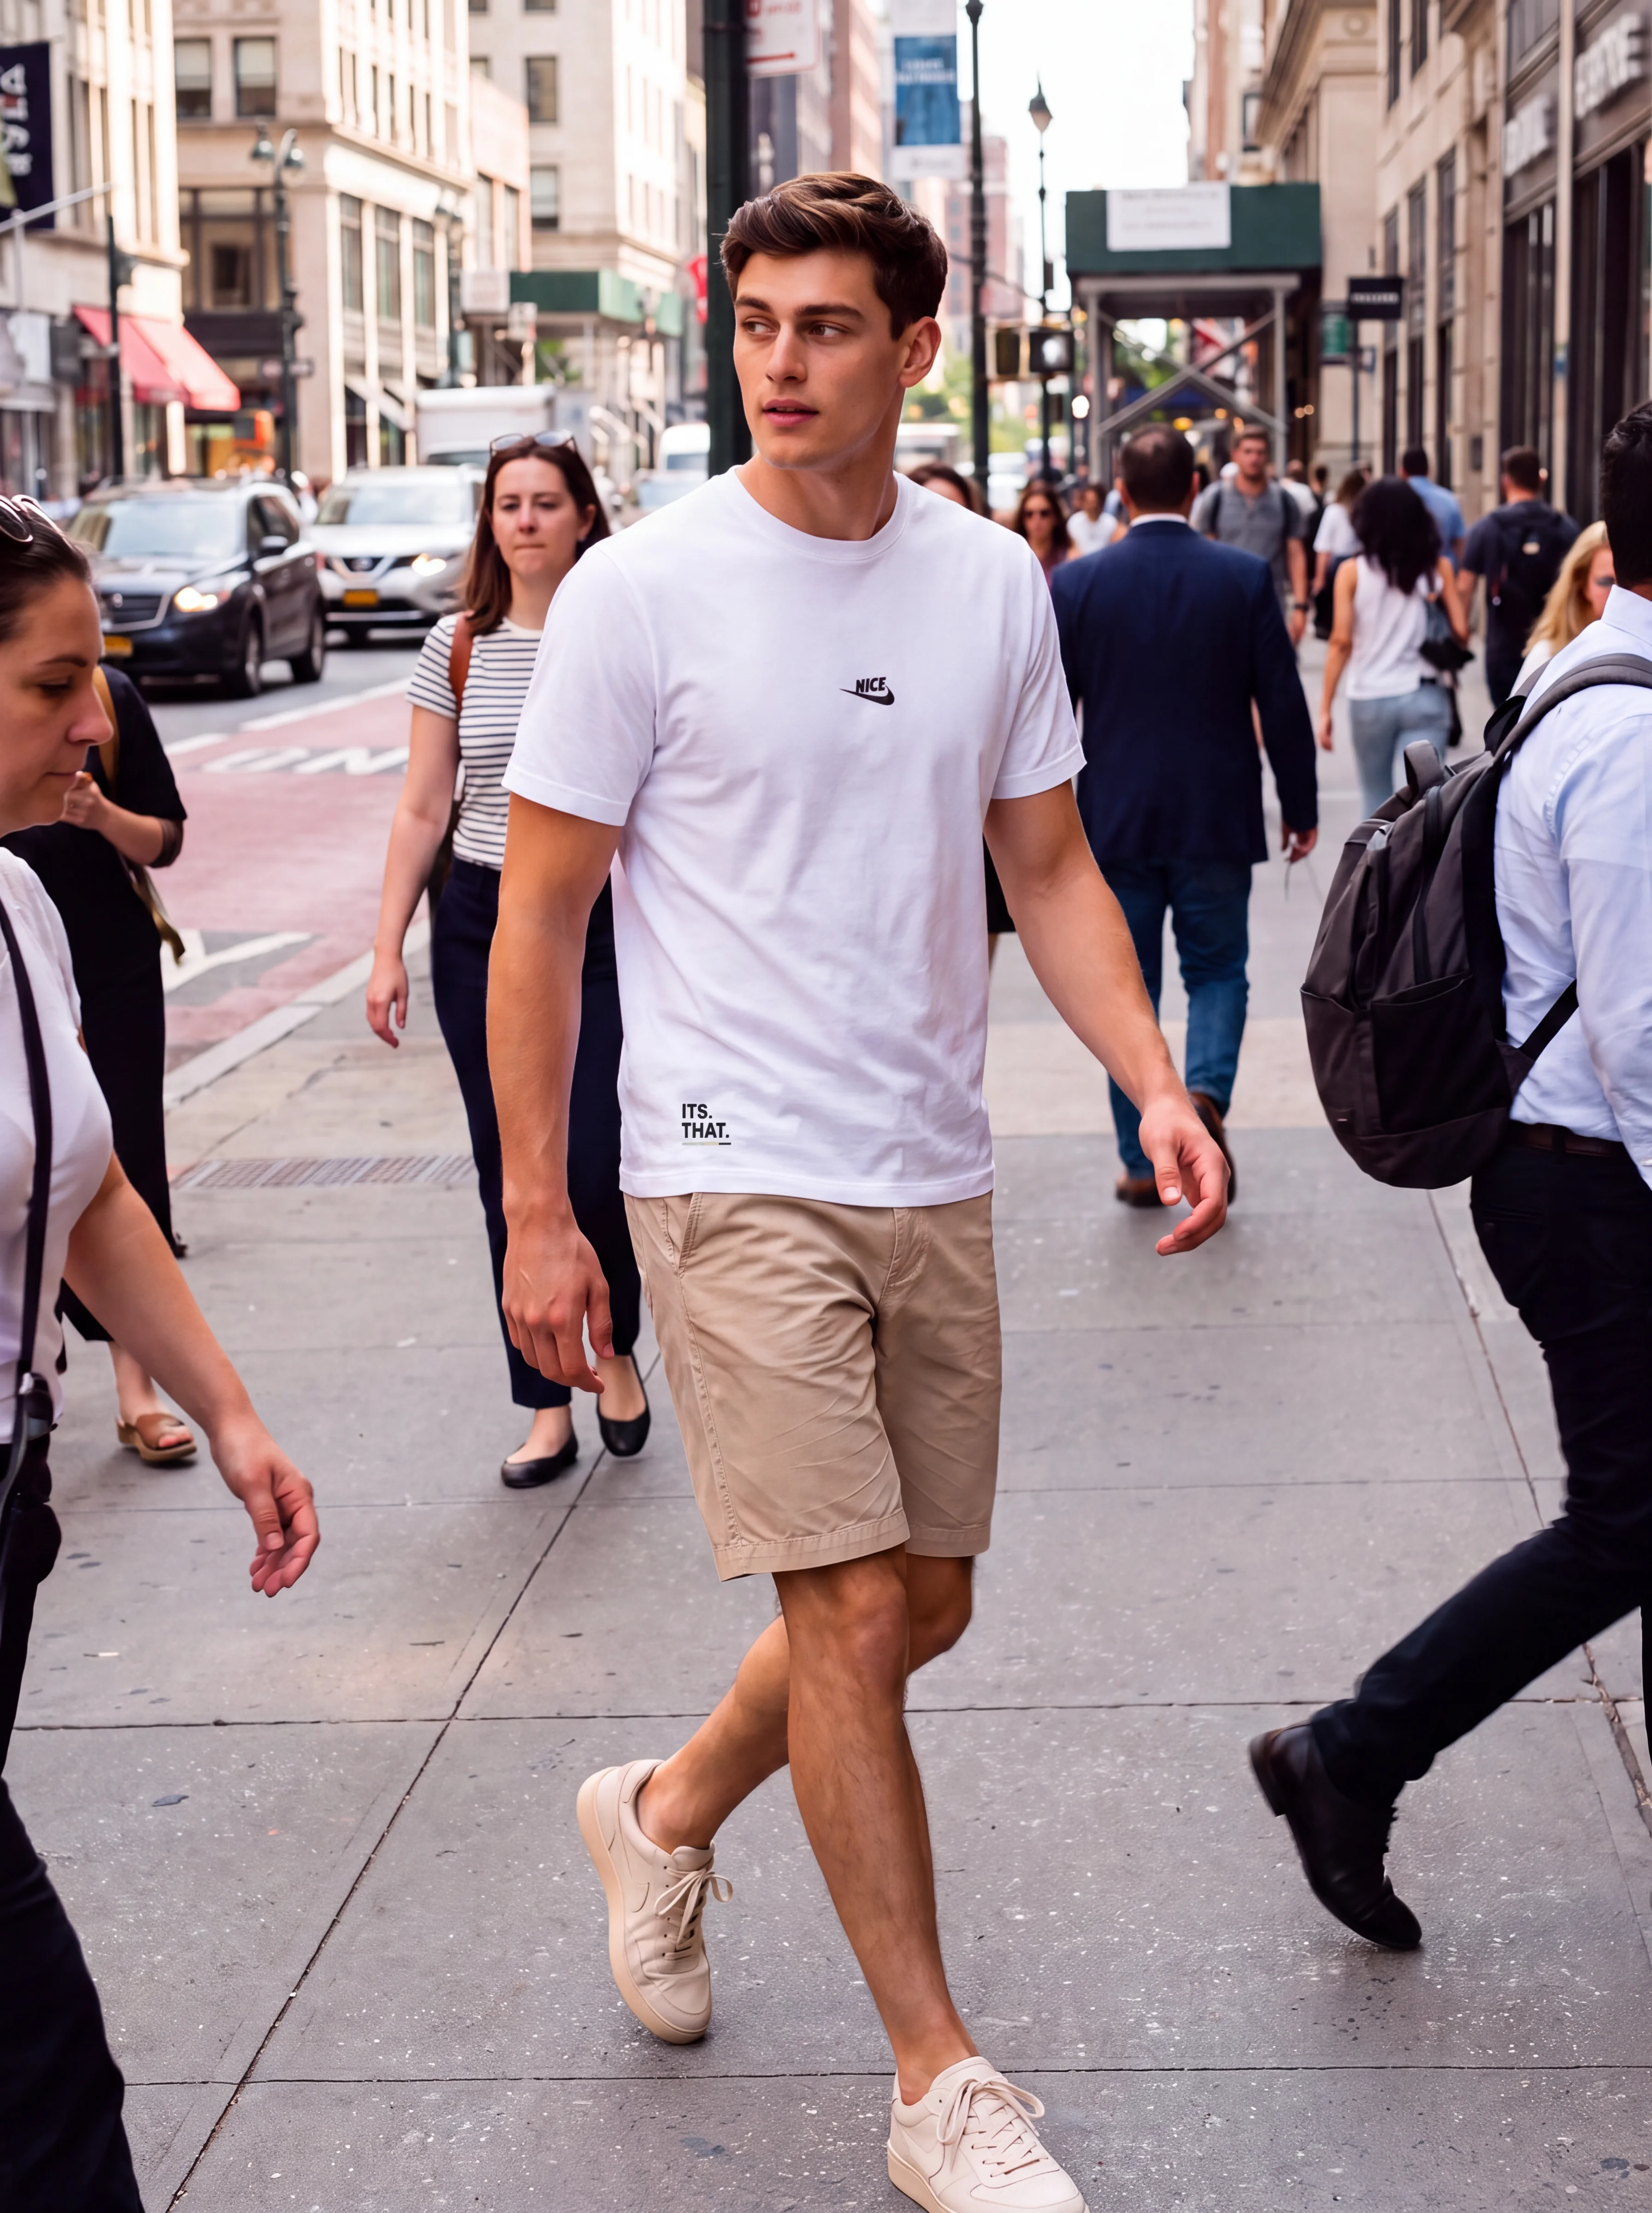
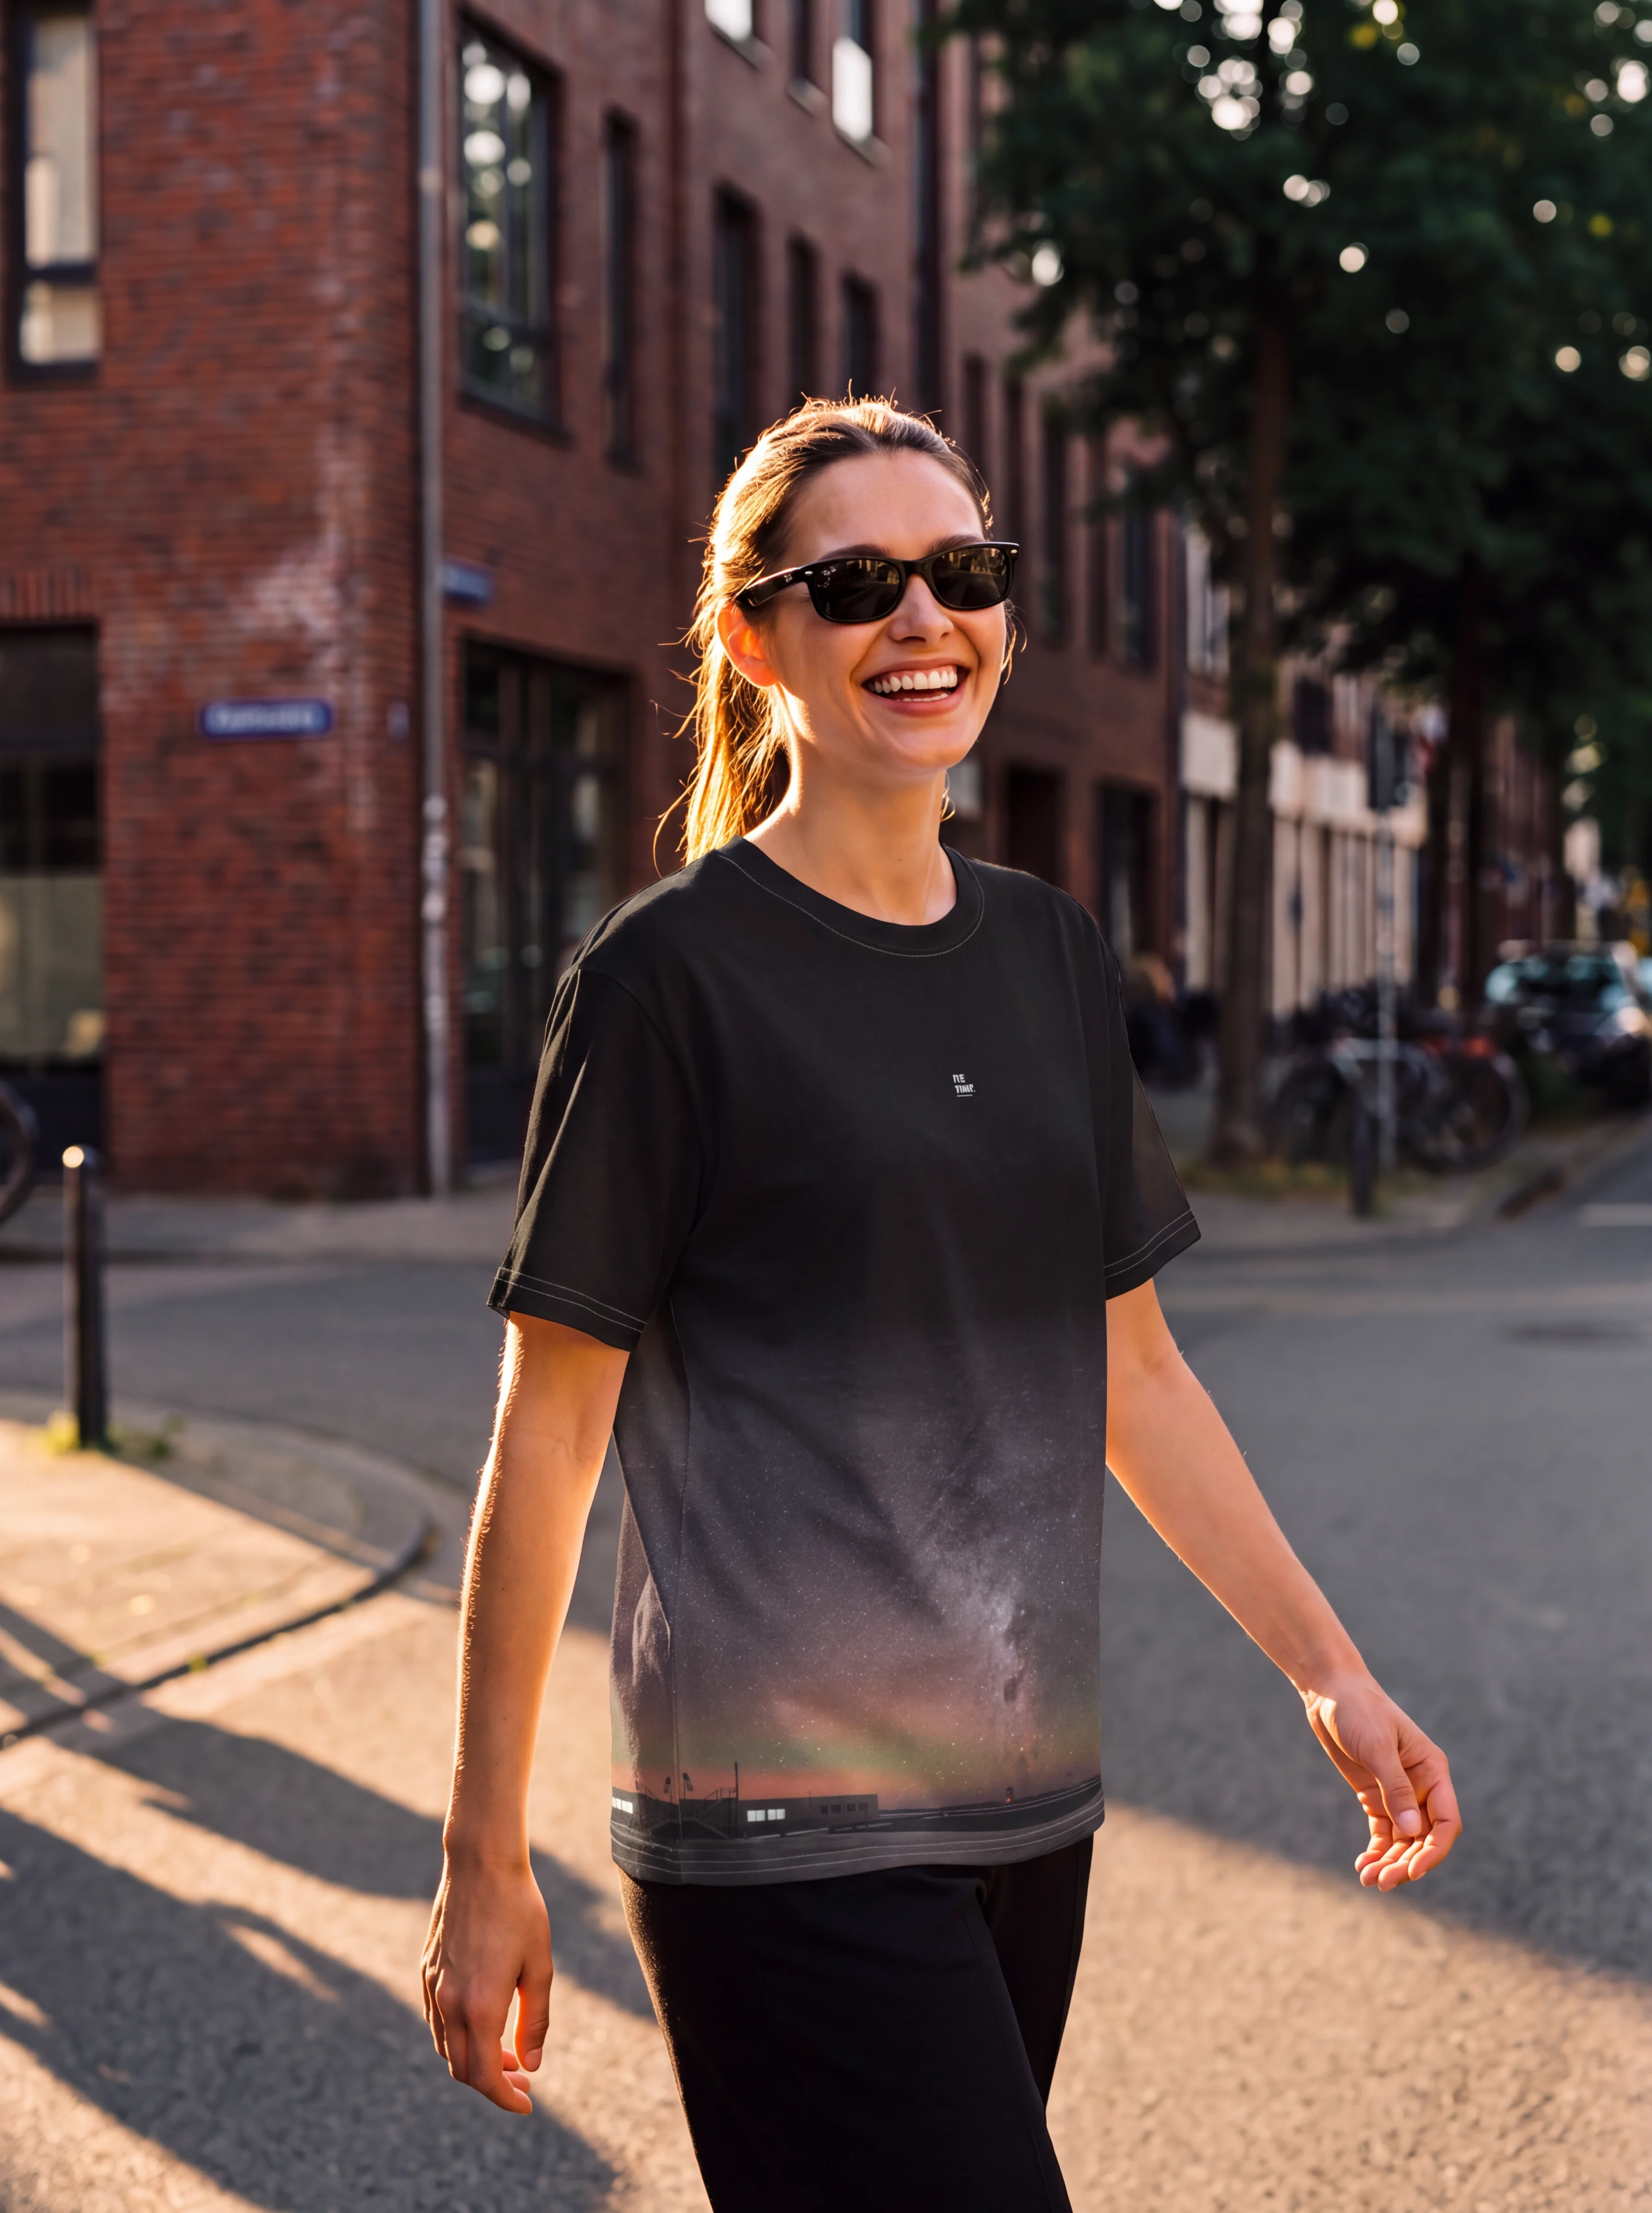




Picture this: a phone camera, held perfectly still against a doorframe, pointed at a child mid-laugh in the last minute of golden hour light. The frame fills with warm side-light catching the texture of a knitted jumper, the background softening into a wash of amber behind them – the kind of separation you’d expect from a dedicated lens, not a slab of glass in a pocket. Nobody moved fast. Nobody used a filter. The only difference between this photo and the blurry, flat, overexposed version most of us take by accident is a handful of decisions made in the two seconds before the shutter fired.
That’s the gap we’re closing. Smartphone photography tips tend to get filed under “nice to have,” as if a good photo is a matter of luck or an expensive upgrade. It isn’t. The numbers back this up, with a caveat worth stating plainly: current flagships – iPhone 13 and later, Google’s Pixel line, Samsung’s Galaxy S and Ultra series – now produce daylight image quality that would have outperformed professional compact cameras from a decade ago. Budget and mid-range phones inherit the same computational tricks but with smaller sensors and fewer lenses, so the gap narrows less dramatically in low light. Multiple lenses, computational stabilisation, HDR blending and Night Mode processing have quietly turned pocket devices into genuinely capable cameras. The hardware stopped being the bottleneck for most everyday shooting. What’s still missing, for most people, is the craft.
Why do most smartphone photos look worse than they should?

Image: Art Institute of Chicago (via Martin Kleinheinz)
Most smartphone photos underperform not because of the device, but because of point-and-shoot habits – tapping once and hoping, rather than intervening at the moments that matter. We raise the phone, tap the screen, and fire. The camera does its best guess at focus, exposure and colour balance across the whole frame, and most of the time that guess is good enough. But “good enough” breaks down in three predictable places: low light, portraits of moving subjects, and anything shot through glass, grime, or a pocket-worn lens.
Consider three of the most common complaints people bring to us: blurry night shots, distorted or oddly-lit portraits, and photos of children that come out soft no matter how many times they’re retaken. Three symptoms, three different causes – but the underlying diagnosis is the same each time. Night shots blur because Night Mode needs the phone to hold still for one to three seconds while it stacks multiple exposures into one bright, clean image; the tiniest hand-shake during that window smears the result. Portraits distort because ultra-wide lenses exaggerate features up close, and auto-exposure often meters for the background rather than the face in front of it. Kids’ photos go soft because autofocus is reacting to movement rather than anticipating it.
None of these are hardware limitations. They’re all fixable with technique – and that’s the encouraging part.
What’s the single biggest free upgrade to smartphone photo quality?
The single biggest free quality jump available to any smartphone photographer is cleaning the lens. It sounds almost insultingly simple, which is exactly why it gets overlooked. A phone lives in a pocket, a bag, a sweaty palm at a festival. Fingerprint oil and fine dust settle on that tiny piece of glass constantly, and the result is a photo that looks milky, low-contrast and strangely soft – the kind of image people blame on “bad lighting” when the actual cause is grime diffusing every point of light before it reaches the sensor. Wipe the lens on a soft cloth or your shirt hem before any shoot that matters. It takes four seconds and it’s the cheapest lesson in this article.
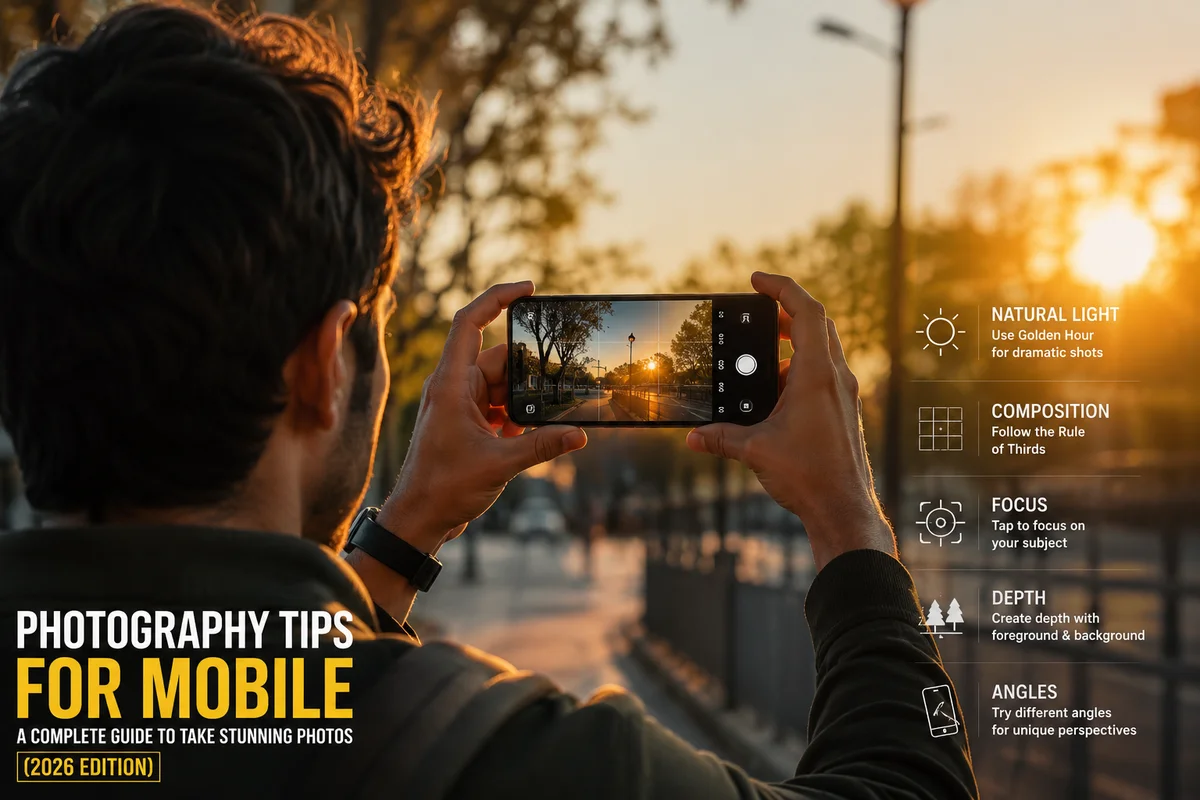
Once the glass is clean, four fundamentals do most of the remaining work, and they map neatly onto how painters and darkroom photographers have thought about images for well over a century: light direction, composition, stability, and manual override of the camera’s guesses. Light direction is the one worth dwelling on longest. Indirect daylight – a subject lit from the side, standing near a window, or shooting during the golden hour either side of sunrise and sunset – produces the kind of dimensional, sculpted look that direct overhead sun simply can’t. This is the same principle Rembrandt built entire portraits around: light from an angle carves out cheekbones and jawlines, while flat frontal light (including, notoriously, the on-camera flash) flattens a face into a passport photo. Vermeer’s interiors, all soft window light falling across a room, are essentially a masterclass in what a smartphone can achieve by simply turning a subject forty-five degrees toward a window. Composition follows close behind: turn on the rule-of-thirds grid in your camera app, and place a subject on one of the intersecting lines rather than dead centre. It’s a habit borrowed from centuries of painting composition, and it costs nothing beyond a single settings toggle.
Which camera settings actually matter, model by model?
The default camera app on any modern phone buries its best tools one or two menus deep, and which tools you get depends on which phone is in your hand.
On iPhone (12 Pro and later for the full set), five settings are worth configuring once. ProRAW captures the full sensor data before the phone’s processing engine bakes in its own decisions about contrast and colour, giving far more room to recover shadows and highlights later in an editing app – shoot it for anything you plan to edit seriously, skip it for quick social posts, since the files run four to five times larger than standard HEIC. Photographic Styles adjust tone and warmth at the point of capture rather than as a filter afterwards, which means the adjustment is baked into the RAW processing itself rather than sitting as a layer on top – the “Rich Contrast” style, in particular, does a convincing impression of a print film stock. Live Photos capture a second and a half of motion either side of the shutter press, which is less a gimmick than a safety net for portraits of children or pets: swipe through the frames afterwards and there’s often a sharper, better-timed moment hiding a few frames from the one you actually tapped. Lens choice matters more than most people realise – the 1x main lens has the largest sensor and the best low-light performance, so treat the 2x or 3x telephoto as the default for portraits (flattering compression, less facial distortion) and reserve the ultra-wide 0.5x for landscapes and interiors, never faces. And Night Mode’s exposure slider, accessible by tapping the yellow icon, can be manually extended for genuinely dark scenes or shortened to freeze a bit more motion when a subject won’t hold still.
On Pixel phones, the equivalent depth lives in Night Sight (automatic in low light, but tap to extend the exposure for astrophotography-grade results) and Top Shot, which captures a burst around the moment you press the shutter and suggests the sharpest frame – genuinely useful for the same reason Live Photos are. Samsung’s Galaxy S and Ultra range leans on Expert RAW (a separate downloadable app for full manual control) and a genuinely useful optical zoom range on the Ultra models, though the standard S-series relies on digital cropping past 3x and should be treated accordingly. Across all three ecosystems, the settings worth enabling once and forgetting are the same handful: the compositional grid, HEIF/HEIC capture for better quality-to-size ratio, RAW or ProRAW for anything destined for real editing, Night Mode’s manual exposure extension, Live Photos or Top Shot for moving subjects, telephoto-as-portrait-lens, and turning off any “beauty” or smoothing filter buried in the settings menu, which softens detail indiscriminately and works against everything else here.
How do you get sharp, well-exposed night and portrait shots?
You get consistently sharp, well-exposed shots by locking focus and exposure on your subject manually, rather than trusting the camera’s automatic guess across the whole frame. Auto-exposure is built to balance an entire scene, which means it frequently optimises for the background – a bright window, a lit-up sky – at the expense of the face or object you actually care about. Tap and hold on the subject until the little AE/AF Lock box appears, and the camera commits to that focus point and brightness reading. From there, swiping a finger up or down on the screen typically brightens or darkens the shot manually, giving you the kind of exposure control that used to require a dedicated dial.
A few mini-setups make this concrete. For a portrait, position your subject side-on or at a slight angle to a window, switch to the 2x or 3x lens if your phone has one, tap-hold on the eyes to lock focus and exposure, and shoot several frames – people blink, and volume beats precision here. For a night scene, brace your elbows against your torso or rest the phone against something solid, frame the shot, let Night Mode’s countdown run its full course without touching the screen, and if the result still looks flat, extend the exposure slider a second or two further for genuinely dark rooms or streets. For a product flat-lay – the kind of image that sells a t-shirt or a print rather than merely documenting it – shoot from directly overhead under diffused daylight (an overcast window or a sheet of baking paper taped over direct sun works as an improvised diffuser), lock exposure on the midtones of the product rather than the white background, and keep the ultra-wide lens switched off entirely, since its edge distortion will bow the corners of anything laid flat. The same logic that builds a catalogue that converts out of carefully lit flat-lays applies at any scale: control the light, lock the exposure, remove the guesswork.
For night shots specifically, the fix is almost entirely about physical stillness. Night Mode works by holding the shutter open across a countdown – usually one to three seconds – while it captures and merges multiple frames into a single bright, low-noise image. Brace your elbows against your body, lean the phone against a wall, doorframe, or table edge, or carry a mini tripod the size of a keychain. The processing is remarkable; it can’t compensate for a shaking hand.
It’s worth being honest about what phone cameras still can’t do, and this is where model matters again. An entry-level dedicated camera around €600 – something like a mirrorless body with a kit lens – earns its keep in three situations: genuine low-light performance beyond what computational photography can fake, real optical zoom reach rather than a digital crop, and large-format prints where sensor size becomes visible on paper. That comparison shifts depending on which phone sits on the other side of it – a Pixel 9 Pro or iPhone 16 Pro Max in daylight closes most of that gap, while a three-year-old mid-range Android in a dim restaurant won’t get close. For daylight snapshots, social posts, and everyday documentation on a recent flagship, that same €600 buys comparatively little advantage.
Zoom deserves its own callout, because it’s the setting most likely to quietly ruin a photo. Digital zoom is just cropping and upscaling – it throws away resolution and introduces softness the moment you push past 1x on most phones. Optical zoom, where the phone physically switches lenses, preserves quality, and how far that goes depends entirely on the model: a base iPhone or Galaxy S offers only 2x-3x of true optical reach before falling back to digital cropping, while an Ultra or Pro Max variant can hold optical quality out to 5x. The better habit, when there’s no optical zoom available at the reach you need, is simply walking closer. Feet beat pixels.
A beginner’s editing workflow
A photo doesn’t need to leave the phone to improve significantly – it needs about ninety seconds of deliberate adjustment. The built-in Photos app (on both iPhone and Android) covers the essentials: pull the Exposure slider to correct an over- or under-bright shot, nudge Shadows up a touch to recover detail Night Mode crushed into black, and resist the urge to drag Saturation far in either direction, since oversaturated skin tones are the fastest way to make a portrait look artificial. That’s often enough.
For more control without real complexity, Snapseed (free, Google) is the natural next step. Its Selective adjustment tool lets you brighten a face without blowing out a bright window behind it – exactly the problem auto-exposure creates in the first place – and its Healing tool removes a stray blemish or background distraction with a fingertip. For anyone shooting ProRAW or Expert RAW files and wanting genuine tonal control, Lightroom Mobile (free tier is sufficient for most people) unlocks curve adjustments and colour grading closer to what a dedicated camera workflow would offer, and it’s where the extra dynamic range captured in RAW actually pays off. The order of operations that works across all three: fix exposure first, then contrast, then colour, and stop before anything looks processed. The best edit is usually the one nobody notices.
None of this requires new equipment. It requires the same four decisions, made consistently: clean the lens, find the light, compose deliberately, and lock focus and exposure where it counts, with a model-appropriate setting or two layered on top and ninety seconds of editing at the end. A camera on a phone in your pocket has waited patiently through years of daylight snapshots for you to notice what it can actually do.
Return to that child laughing in the doorway, caught in warm side-light with the background dissolving softly behind them. That photo was never about the phone. It was four small decisions, made in the two seconds before the shutter closed – decisions any of us can make the next time the light is right and the moment doesn’t wait.
Frequently Asked Questions
Q: Why do my night photos come out blurry even with Night Mode enabled?
A: Night Mode holds the shutter open for one to three seconds to blend multiple exposures into one bright image, and any hand movement during that window causes blur. Brace the phone against something solid or use a mini tripod to keep it still through the full capture.
Q: What’s the single easiest way to improve smartphone photo quality?
A: Clean the lens before shooting. Fingerprint oil and pocket dust are extremely common and make photos look milky and low-contrast, so a quick wipe is often the biggest free quality improvement available.
Q: How do I stop my phone from focusing on the wrong thing in a photo?
A: Tap and hold on your subject to trigger AE/AF Lock, which fixes both focus and exposure on that point rather than letting the camera average the whole scene. You can then swipe up or down on the screen to manually brighten or darken the image.
Q: Is it worth buying a dedicated camera instead of using a smartphone?
A: A dedicated camera around €600 mainly pays off for genuine low-light performance, real optical zoom reach, and large prints – and that advantage shrinks noticeably against a recent flagship phone in daylight, while widening again against an older or mid-range phone in dim conditions.
Q: Why does digital zoom make my photos look worse?
A: Digital zoom crops and upscales the image rather than capturing more optical detail, which degrades sharpness, and how much optical range you have before that kicks in depends on your phone model. Using optical zoom when available, or simply walking closer to the subject, preserves far more image quality.
Source: https://martinkleinheinz.de/en/smartphone-photography/
This article was researched and written with AI assistance, then reviewed for accuracy and quality. Talulah at Its.That. uses AI tools to help produce content faster while maintaining editorial standards.