

\n
Last updated: August 7, 2026
\n
 \n
\n
\nImage: Fstoppers
\n
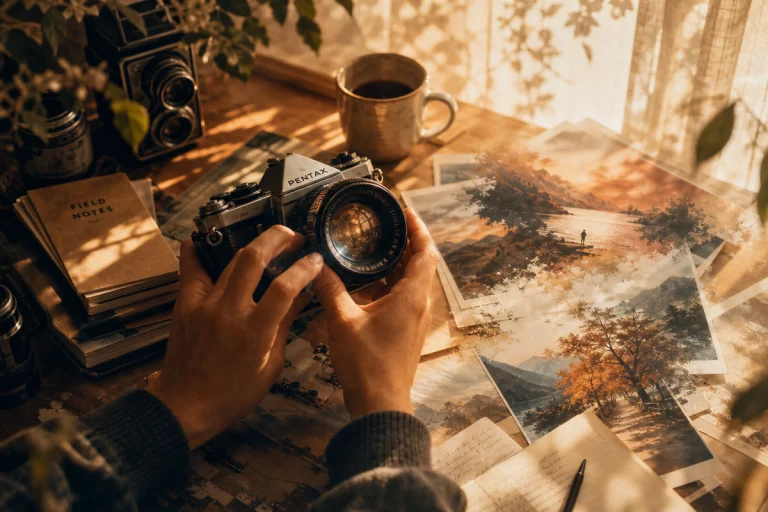
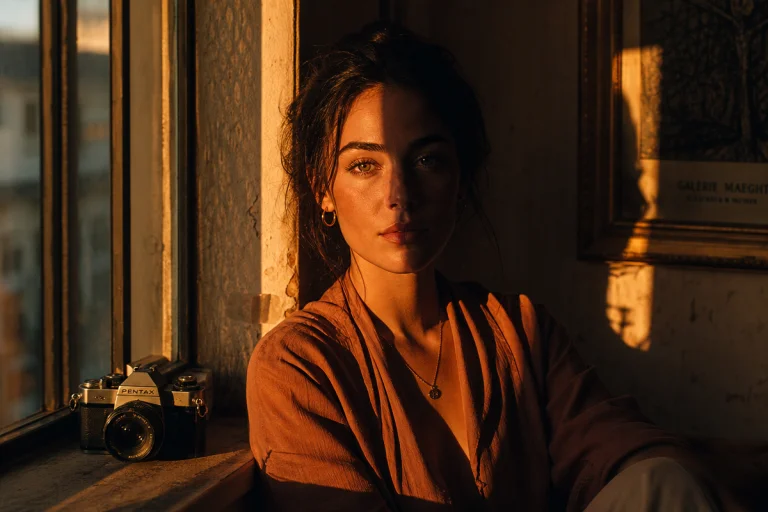
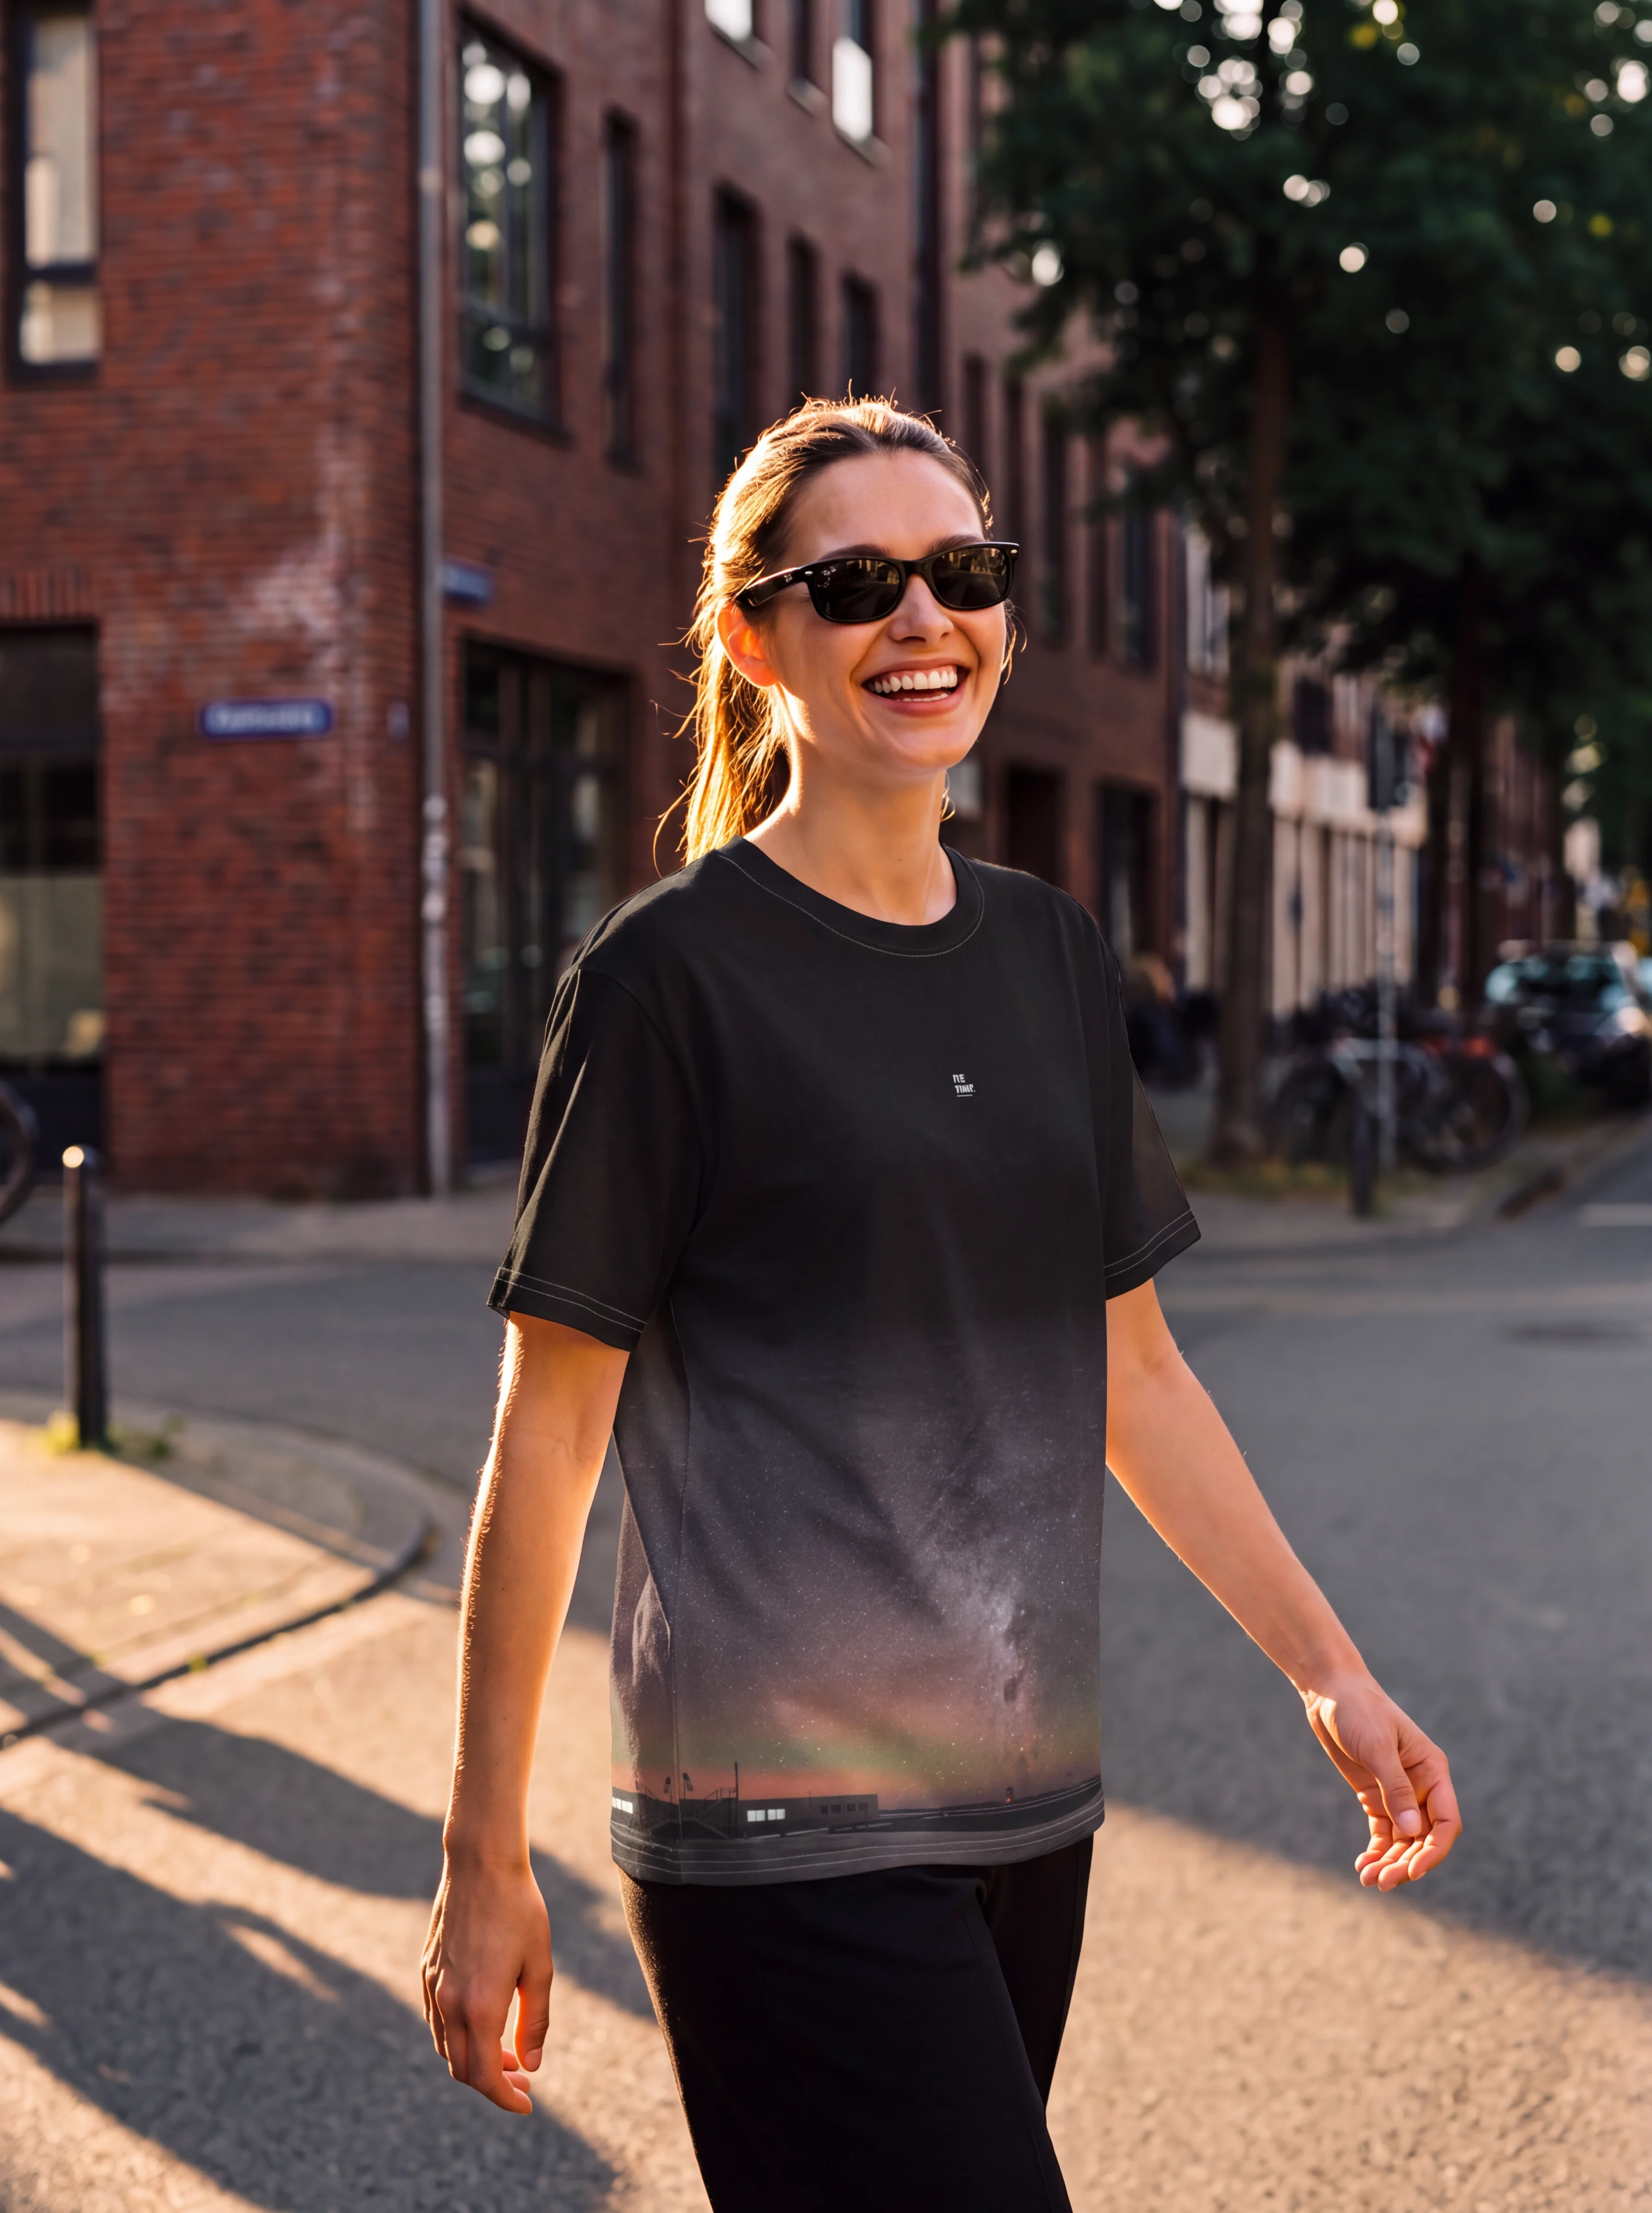
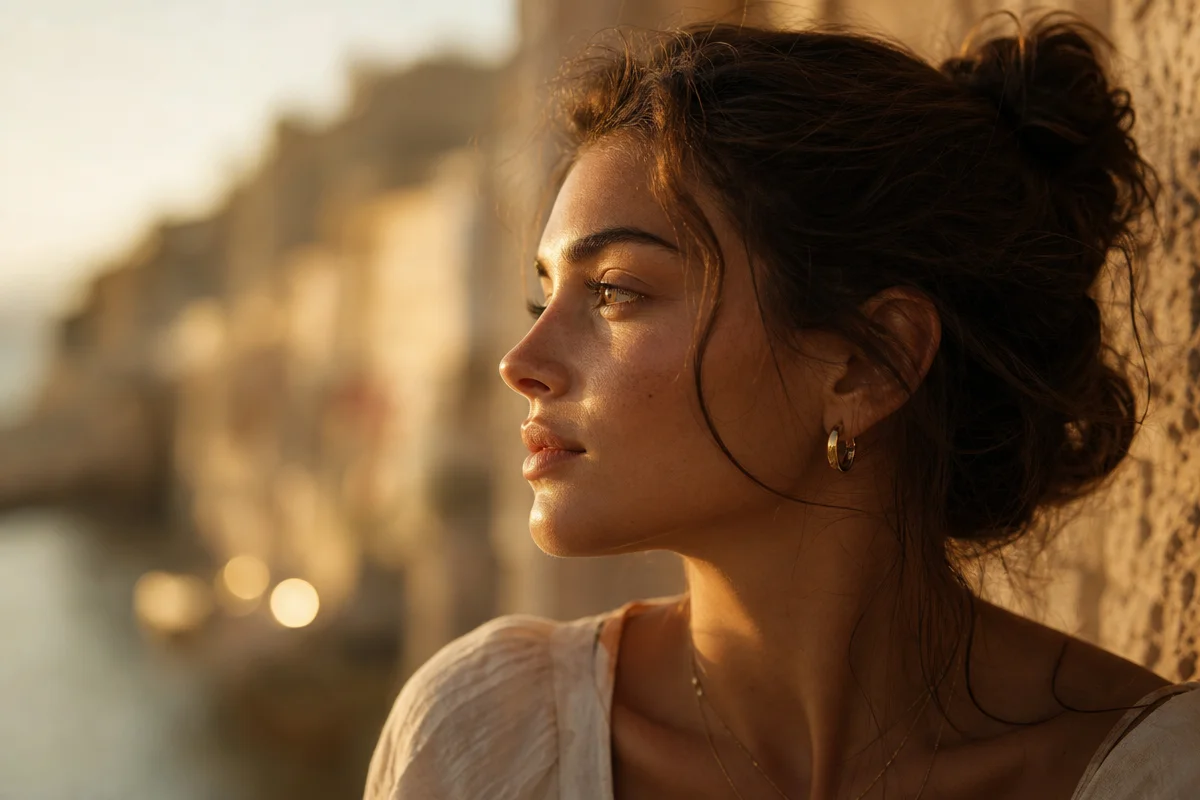
Picture this: soft morning light pouring through a north-facing window, catching the edge of a cheekbone, pooling in the hollow beneath a collarbone. The background dissolves into warm cream blur. Our subject looks at ease, real, alive. That image is closer than we think – and portrait photography with natural light is exactly how we get there.
\n
This guide walks us through the essential settings, gear choices, and posing instincts that separate a snapshot from a portrait. No flash rigs, no expensive studio. We are going to build this portrait step by step – scene, light, lens, exposure, pose, background, and edit.
\n
What We Need Before We Shoot
\n
 \n
\n
\nImage: Fstoppers
\n
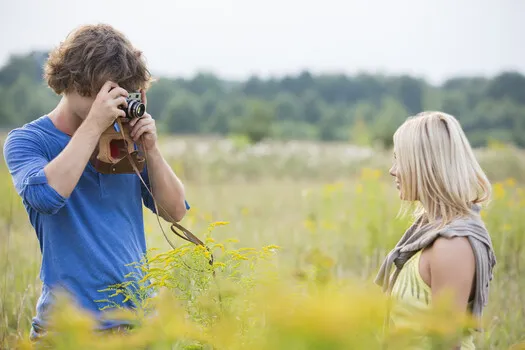
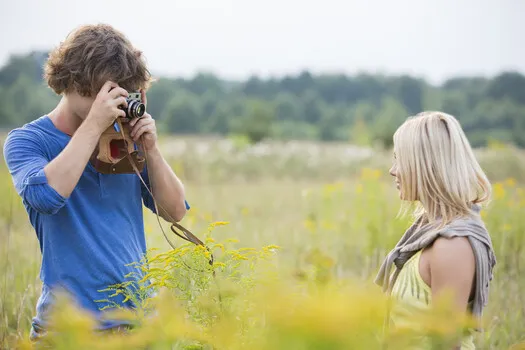
We need a camera with manual or semi-manual controls, a prime lens, and a willing subject. A mirrorless or DSLR body from Canon, Sony, Nikon, or Fujifilm will serve us well. A modern smartphone is equally valid – more on that below.
\n
The one investment worth making immediately is a fast prime lens. A wide aperture – f/1.8 or f/2 – produces background separation that signals “portrait” to a viewer’s eye in a way no post-processing trick can fully replicate.
\n
Strong starting points: the Canon RF 50mm f/1.8 STM, Sony FE 50mm f/1.8, Nikon Z 40mm f/2, or Fujifilm XC 35mm f/2 (which frames like 50mm on a crop sensor). All are affordable and optically capable well beyond their price.
\n
Step 1: Choose the Scene and Set the Mood with Colour
\n
Before we pick up the camera, we decide how we want our portrait to feel. Colour temperature, wardrobe, and background work together the way a painter’s palette does – they shape emotional register before the viewer reads any other cue.
\n
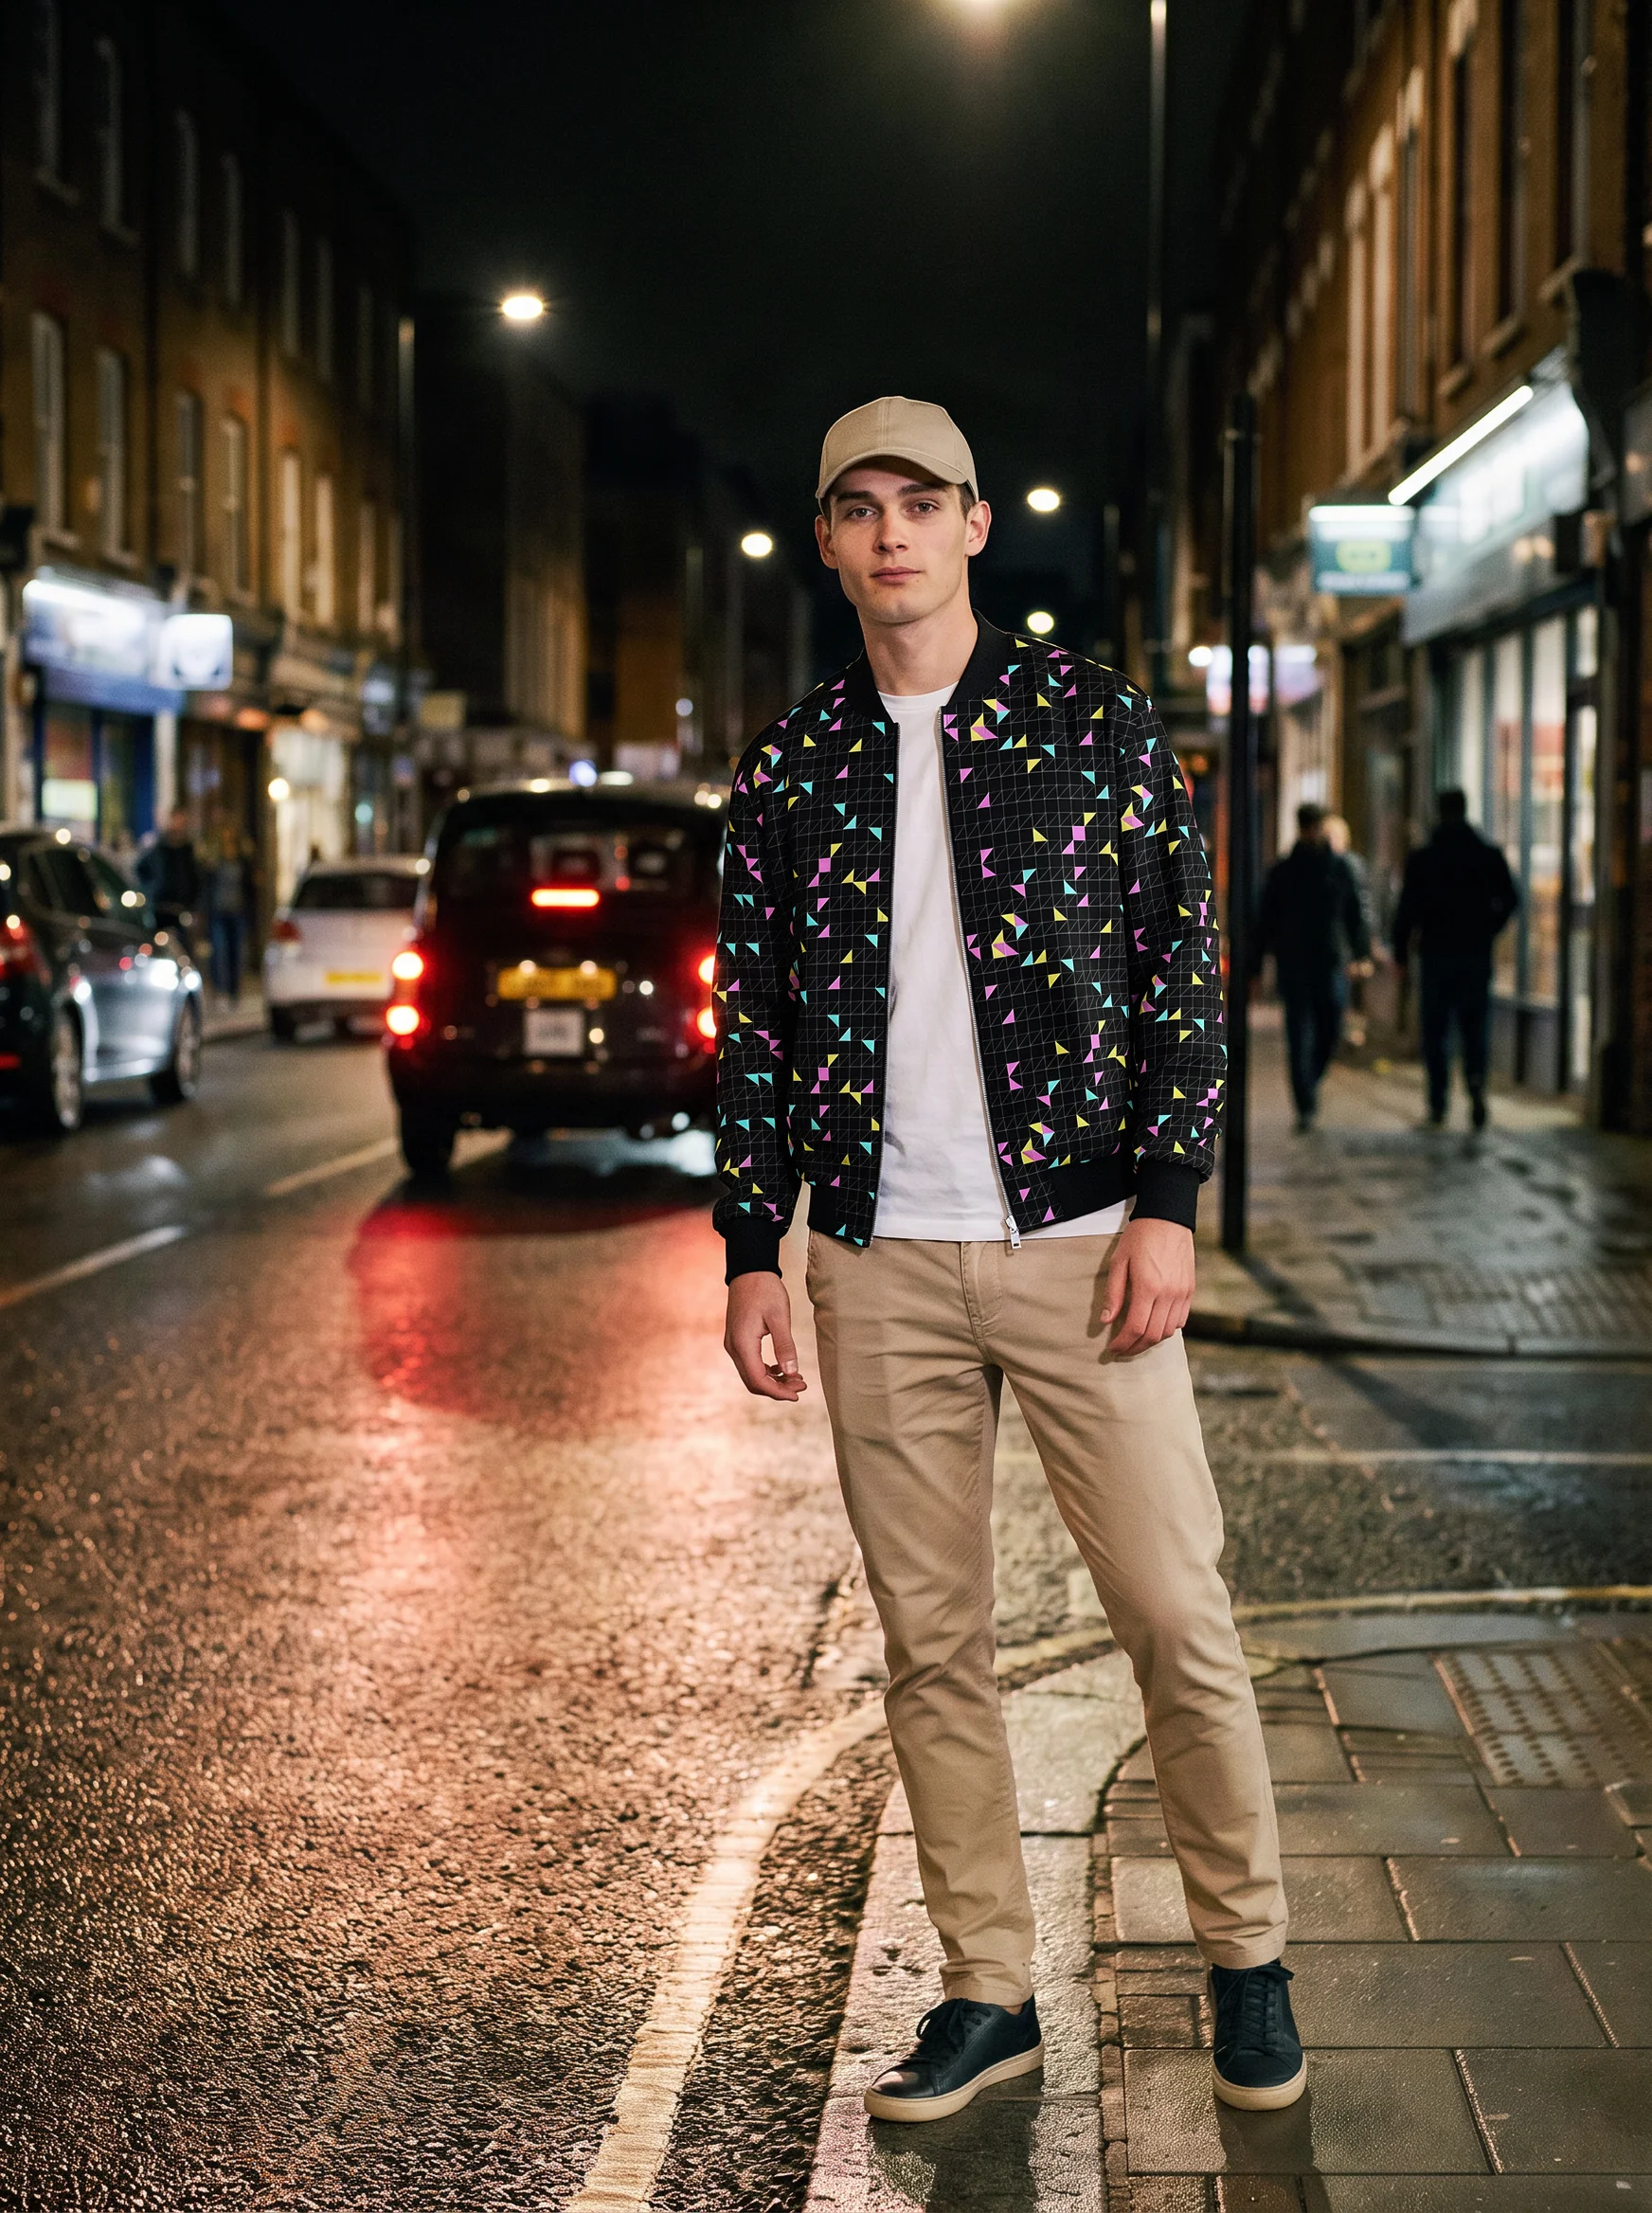
Warm tones – terracotta walls, amber curtains, honey-coloured wood – push the portrait toward intimacy and nostalgia. Cool tones – grey stone, blue-tinted overcast windows, pale linen – read as calm, modern, slightly melancholic. We match our subject’s clothing to this choice rather than fighting it. A rusty orange cardigan in a warm-lit scene strengthens the mood; the same cardigan in a cool-lit room creates visual tension that can feel unresolved.
\n
Background clutter is a separate problem. Open the aperture wider, or move the subject further from the background. The issue is almost never the background itself – it is the distance relationship between subject and scene.
\n
Step 2: How to Read Natural Light
\n
Natural light removes the variables of flash and lets us learn to see the way painters did. Start by identifying direction and quality.
\n
Direction: Position the subject so light skims across their face at roughly 45 degrees. This creates a lit side and a shadow side – the foundational pattern behind Rembrandt’s portraits. Look closely at almost any Rembrandt face and notice the small triangle of light that appears on the shadowed cheek, just below the eye. That triangle is now called Rembrandt lighting, and it is not an accident – it is the precise geometry of what happens when you place a subject 45 degrees from a window and tilt their face slightly toward the light. The same logic runs through Annie Leibovitz’s editorial portraiture, just updated for colour film and a wider frame.
\n
Quality: Overcast days produce soft, diffused light. Direct sun is punchy and contrasty. A large north-facing window on a cloudy day is essentially a giant softbox. A small east-facing window in morning sun is directional and dramatic. Neither is wrong – they create different moods.
\n
Keep the subject close to the light source. As distance doubles, brightness falls off dramatically. Move them toward the window, not away from it.
\n
Step 3: Lens and Camera Settings
\n
Aperture controls background separation. For a single subject, shoot at f/2 to f/2.8 – wide enough for blur, tight enough to keep both eyes sharp. At f/1.8, one eye can fall soft if the subject moves even slightly. For groups, stop down to f/4 or f/5.6.
\n
Shutter speed needs to freeze natural movement – 1/200 second is a reliable floor. On a crop-sensor body, factor in the multiplier (1.5x for Sony/Nikon, 1.6x for Canon).
\n
ISO can be raised to compensate in low light. Modern sensors handle ISO 1600-3200 with minimal noise, and a touch of grain in post often reads as character rather than flaw.
\n
On full-frame cameras, the 85mm prime is the classic portrait focal length – flattering perspective, comfortable working distance, natural compression. On crop sensors, a 50mm lands in the same sweet spot.
\n
Phone cameras: Open the native camera app and switch to Portrait mode. This applies computational background blur – more convincing at f/2-equivalent than at f/1.2-equivalent, which tends to look artificial along hair edges. For manual control, apps such as Halide (iOS) or Camera FV-5 (Android) let us lock exposure and focus independently. One important caveat: portrait mode struggles with fine detail like curly hair or flyaways, so pull back the blur intensity in editing rather than relying on the maximum setting.
\n
Step 4: Posing as Directing
\n
Posing is directing, not positioning. The goal is ease, not performance.
\n
Start with the body at a 45-degree angle to the camera – it creates a more dynamic line than straight-on. Weight on one foot. Shoulders relaxed. Chin slightly forward and down to define the jaw. For hands, give them something to do: hold a prop, touch a collar, rest against a surface. Idle hands read as uncertain on camera.
\n
Engage the subject in conversation about something they care about. Genuine expression is worth more than any technical setting. The photographers whose work endures all understood that the camera captures feeling, not just faces.
\n
Step 5: The Edit
\n
A clean edit reinforces the mood we built in camera rather than replacing it.
\n
White balance comes first. Pull the temperature slider toward warmth for a golden, intimate feel, or toward cool for something quieter and more editorial. Skin tones will shift with it, so watch the cheeks and forehead – if the skin starts reading orange or green, we have gone too far.
\n
Skin tone and contrast: Reduce clarity slightly (around -15 to -20) to soften texture without losing structure. Then lift the shadows very gently to open the face without flattening the light pattern we created with the window. The goal is to preserve the relationship between the lit and shadow sides – the same geometry Rembrandt was after – not to eliminate it.
\n
Crop: Portrait crops land in one of two places: tight on the face and upper shoulders, which feels cinematic and close, or a three-quarter crop from mid-thigh up, which gives the composition more air and body language. Avoid cropping at the joints – mid-knee, mid-elbow, or the wrist. It reads as accidental amputation.
\n
A final vignette – subtle, pulled in from the corners – draws the eye toward the centre and away from the edges. Keep it light. If we can name the vignette, it is too heavy.
\n
Troubleshooting Common Problems
\n
Soft or missed focus: Switch to single-point AF aimed at the nearest eye, or use eye-tracking if the camera supports it.
\n
Flat, lifeless light: The subject is either too far from the window or facing it dead-on. Move them closer and rotate slightly so the light rakes across rather than floods the face.
\n
From that first image – light on a cheekbone, a soft dissolved background, the feeling of a real person in a real moment – we now have the tools to build it deliberately. Understand the light direction, commit to a fast prime, set f/2.8 with a shutter above 1/200, direct toward ease, and finish with an edit that honours the mood rather than fighting it. The gap between “beginner” and “professional-looking” is narrower than the industry sometimes pretends.
\n
Frequently Asked Questions
\n
What is the best natural light setup for portrait photography beginners?\nPosition the subject near a large window with indirect light – north-facing or on an overcast day works especially well. Angle them at 45 degrees to the light source and keep them close to the window to maintain brightness and softness.
\n
What aperture should I use for portrait photography?\nShoot between f/2 and f/2.8 for single subjects. For groups, use f/4 to f/5.6 to keep everyone in focus.
\n
Do I need an expensive camera for professional-looking portraits?\nNo. A mid-range body paired with an affordable fast prime will produce strong results. Understanding light and lens choice matters far more than camera body price. A phone in Portrait mode with a controlled light source will also produce compelling work.
\n
How do I get sharp eyes in portrait photos?\nUse single-point or eye-tracking autofocus aimed at the nearest eye. Shoot at f/2 to f/2.8 rather than wide open, keep the shutter above 1/200 second, and ensure there is enough light for the AF system to lock accurately.
\n
How do I edit portrait photos on my phone?\nAdjust white balance first, then reduce clarity slightly to soften skin texture. Lift shadows gently to open the face while preserving the lit-to-shadow ratio. Finish with a tight crop and a very subtle vignette.
\n
\n
\n
This article was researched and written with AI assistance, then reviewed for accuracy and quality. Talulah at Its.That. uses AI tools to help produce content faster while maintaining editorial standards.
\n