

Image: Simon Burn / Fstoppers
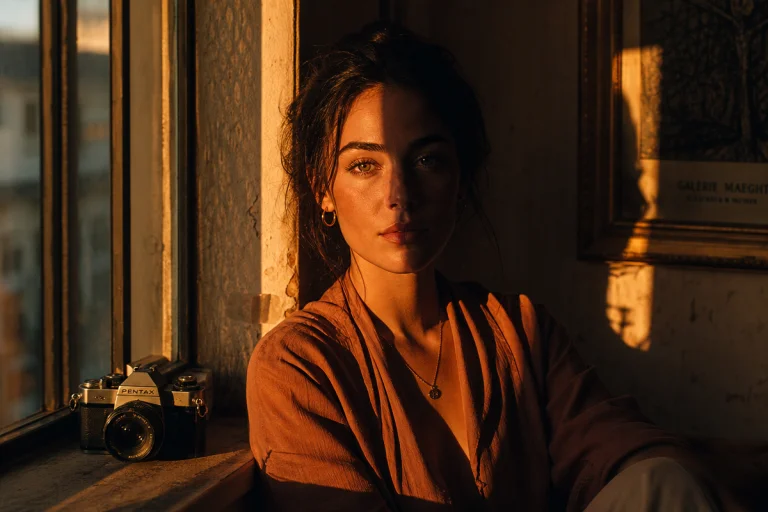
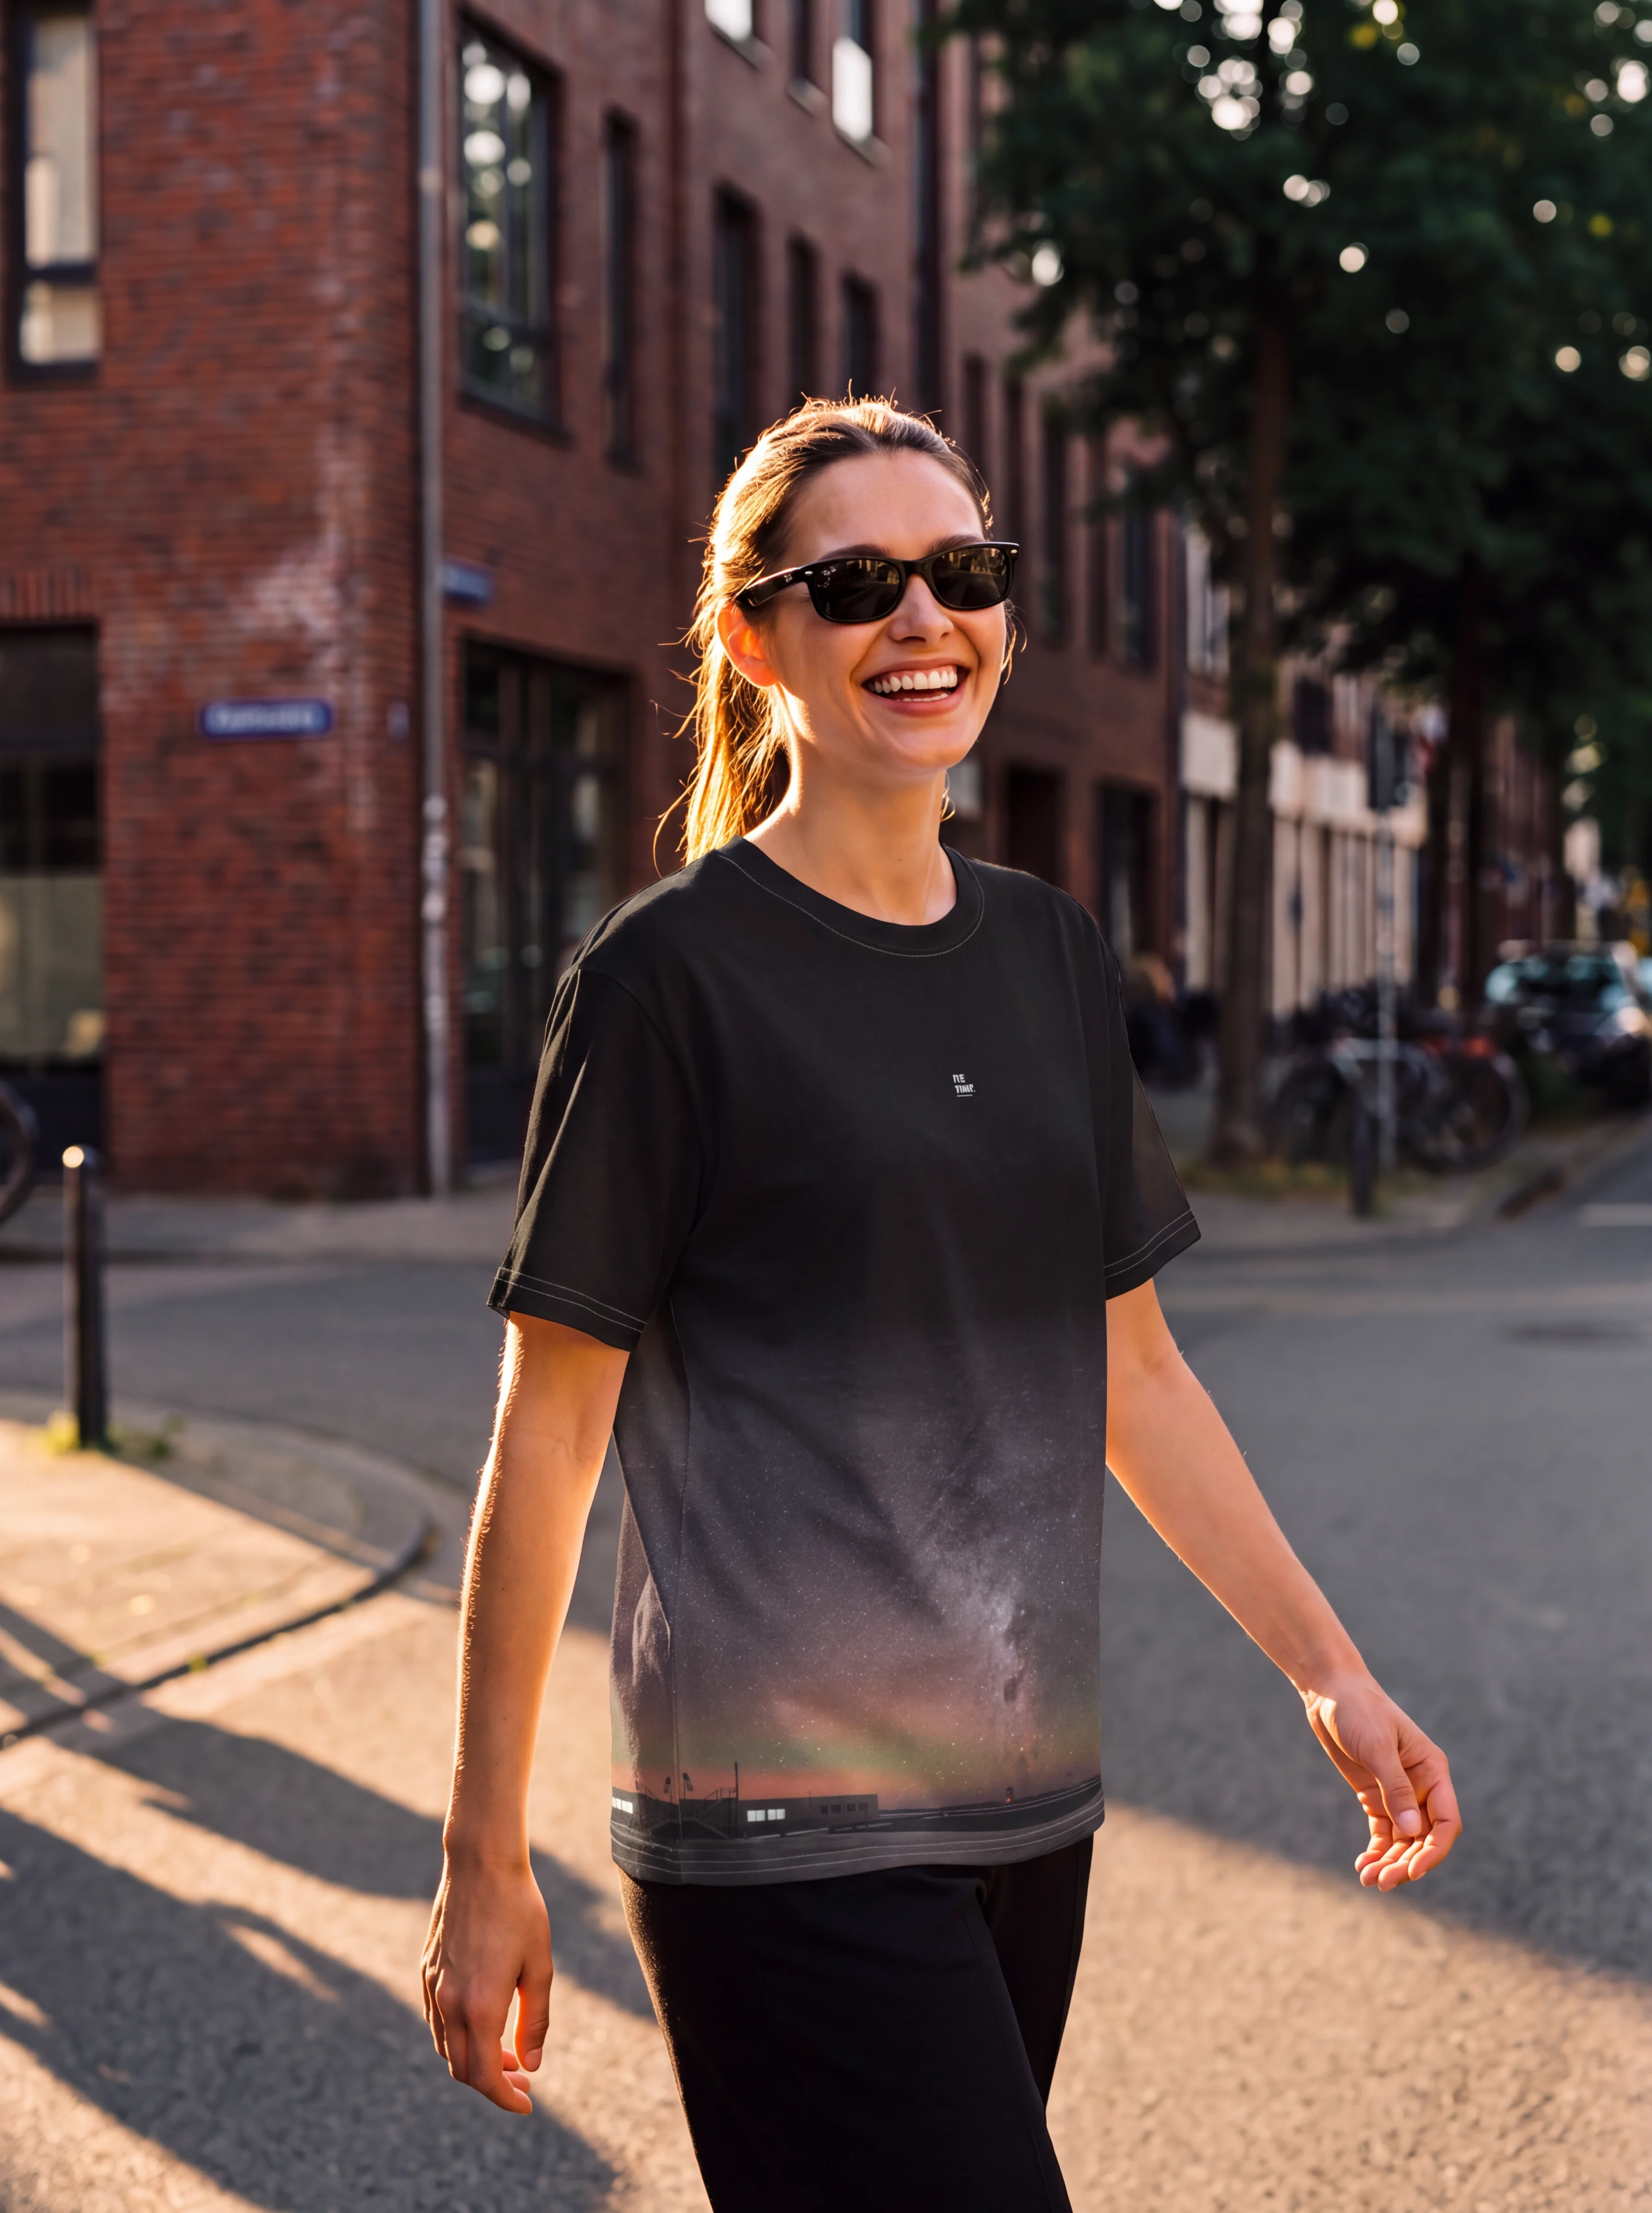
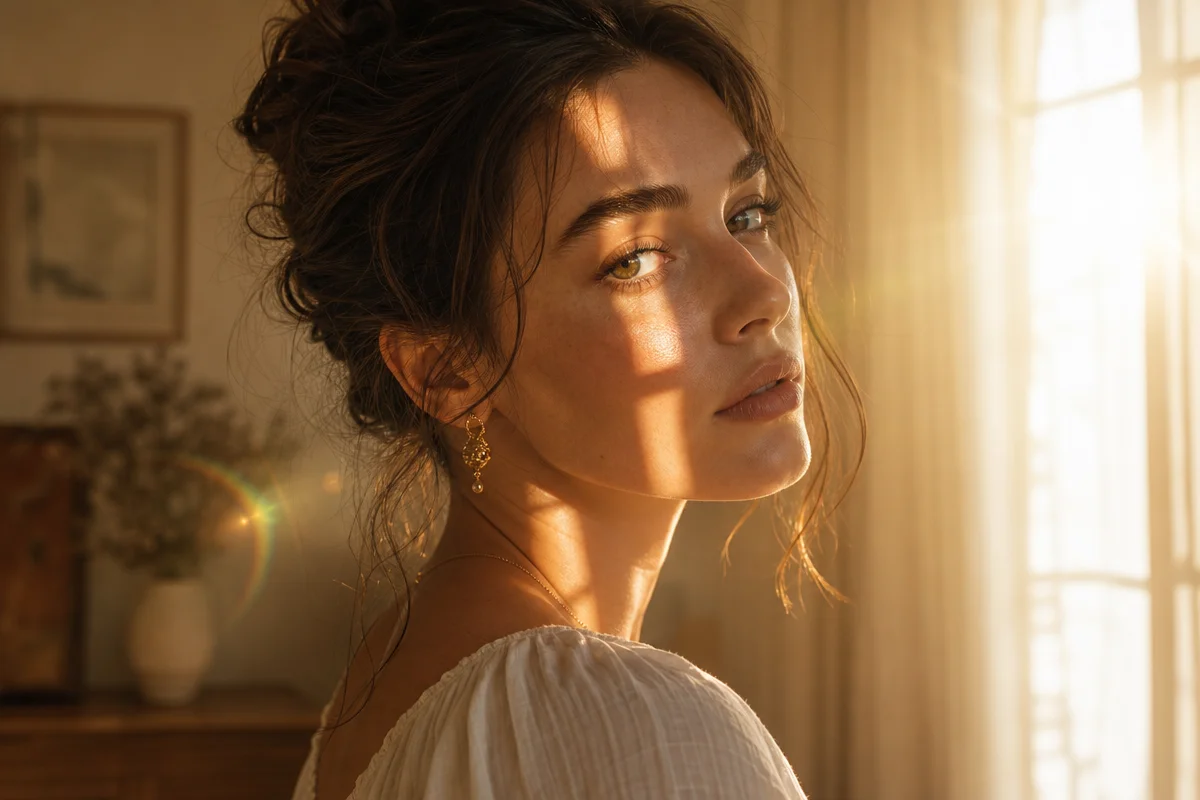
Picture a woman leaning against a doorway, half her face lit gold, half in shadow. That split-second setup, sun, angle, filter, is the difference between a portrait that glows and one that gets binned. Here’s the thing most beginners get wrong: they think natural light portrait photography is about finding good light. It’s actually about controlling bad light.
Why does natural light photography start with avoiding gear, not using it?
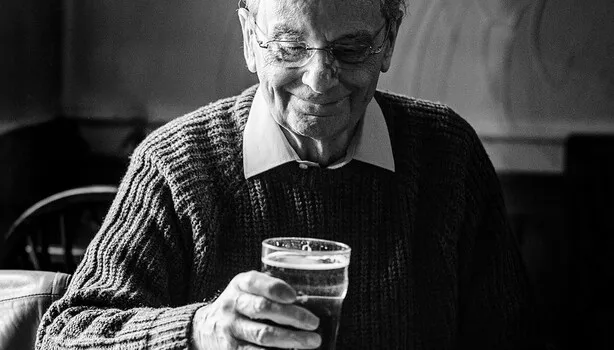
Image: Simon Burn / Fstoppers
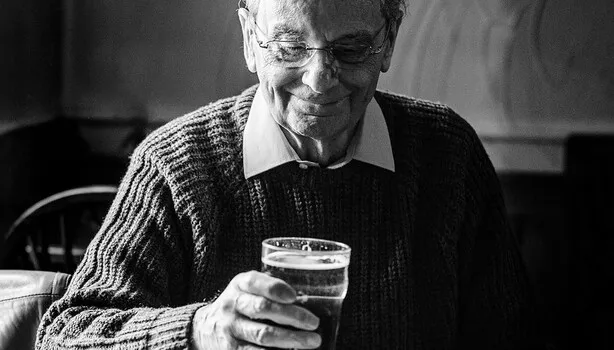
Experienced photographers reach for reflectors and diffusers last, not first. Simon Burn, who has shot environmental portraits for decades, always tries to make a great photo with natural light before touching the lighting gear he carries. He’ll place a subject by a window, in a doorway, under whatever ambient light is already doing something interesting. Only when that fails does the kit come out.
This isn’t purism for its own sake. It’s a discipline borrowed from painters long before cameras existed. Vermeer built entire careers around a single north-facing window. He understood that consistent, directional light does more compositional work than any amount of equipment. A photographer who trains their eye to read a room, or a street, the way Vermeer read his studio will always outperform one who defaults to a flash.
Practically, this means: before you unpack anything, walk your subject around. Try the doorway. Try the shaded side of the building. Watch how the light changes their face. Most of the “look” is decided before you press the shutter.
What is the best natural light for portraits?
Golden hour, the stretch of low, warm light after sunrise and before sunset, is the most reliable starting point, though “hour” is generous. Depending on latitude and season it can be closer to twenty minutes of genuinely usable light, and it moves fast enough that a shoot planned around it needs a running order, not a wander.
Position the sun behind your subject and you get glowing, backlit hair and a rim of light tracing their shoulders, a look painters call chiaroscuro when done with a single light source. It’s romantic, cinematic, and forgiving of skin texture.
But golden hour punishes hesitation. Work fast. Keep subjects from squinting into the sun. If you’re backlighting, overexpose slightly or your subject turns into a silhouette. A cheap white reflector, even a car sun-shade, bounces enough fill light back into the face to rescue the shot.
One technical trap: auto white balance will “correct” that warm glow right out of your photo, flattening the whole mood. It isn’t creating the warmth, it’s simply refusing to remove it. Burn recommends switching to a manual daylight setting, or a Kelvin value around 5,000-5,600K, so the camera stops fighting the light that’s already there. A gold mist diffusion filter pushes this further, exaggerating the soft wrap of light around a subject and rolling off highlights in a way that reads as organic rather than processed.
When do you actually need an ND filter, and which one?
Golden hour solves the light. It doesn’t solve the aperture problem. Wide open at f/1.8 in bright evening sun, even at your lowest ISO, you’ll often blow past your camera’s fastest shutter speed and clip the highlights. A neutral density filter is glass that does one job: it cuts the light hitting the sensor without touching colour or contrast, so you can keep that wide aperture, shallow depth of field, and creamy background.
Think of stops the way a chef thinks of reducing a sauce, each one halves the light, and you choose how much reduction the scene needs:
- 3-stop ND – the workhorse for portraits. Enough to shoot f/1.4-f/2.8 in full midday or golden-hour sun without overexposing, while barely affecting your shutter speed. This is the filter that lives on the lens for most outdoor portrait work.
- 6-stop ND – for brighter conditions or when you want an even shallower depth of field at a wider aperture than a 3-stop allows, or if you’re pushing toward slightly longer shutter speeds for subtle motion, hair or fabric drifting in a breeze.
- 10-stop ND – mostly a landscape tool, built for multi-second exposures that smooth water or clouds. For portraits it’s rarely useful unless you’re deliberately blurring a moving subject against a static one, and it makes handheld autofocus far harder because so little light reaches the sensor.
Workflow-wise: metre the scene first without the filter, dial in the aperture and ISO you want, then screw on the ND and adjust shutter speed to bring the exposure back to correct. Autofocus struggles once you’re past 6 stops in anything but bright sun, so it’s worth focusing before the filter goes on, switching to manual focus, and locking it. Variable ND filters (rotating between roughly 2 and 8 stops) are convenient for run-and-gun shoots but can introduce an uneven dark band across the frame at their extremes, particularly with wide-angle lenses, so test yours before relying on it for a paid shoot.
How do you fix harsh midday sun in portraits?
Move your subject into open shade. Harsh overhead sun carves ugly shadows under the eyes, nose, and chin, but shade beside a building, under an archway, in a doorway, or beneath a tree neutralises it instantly.
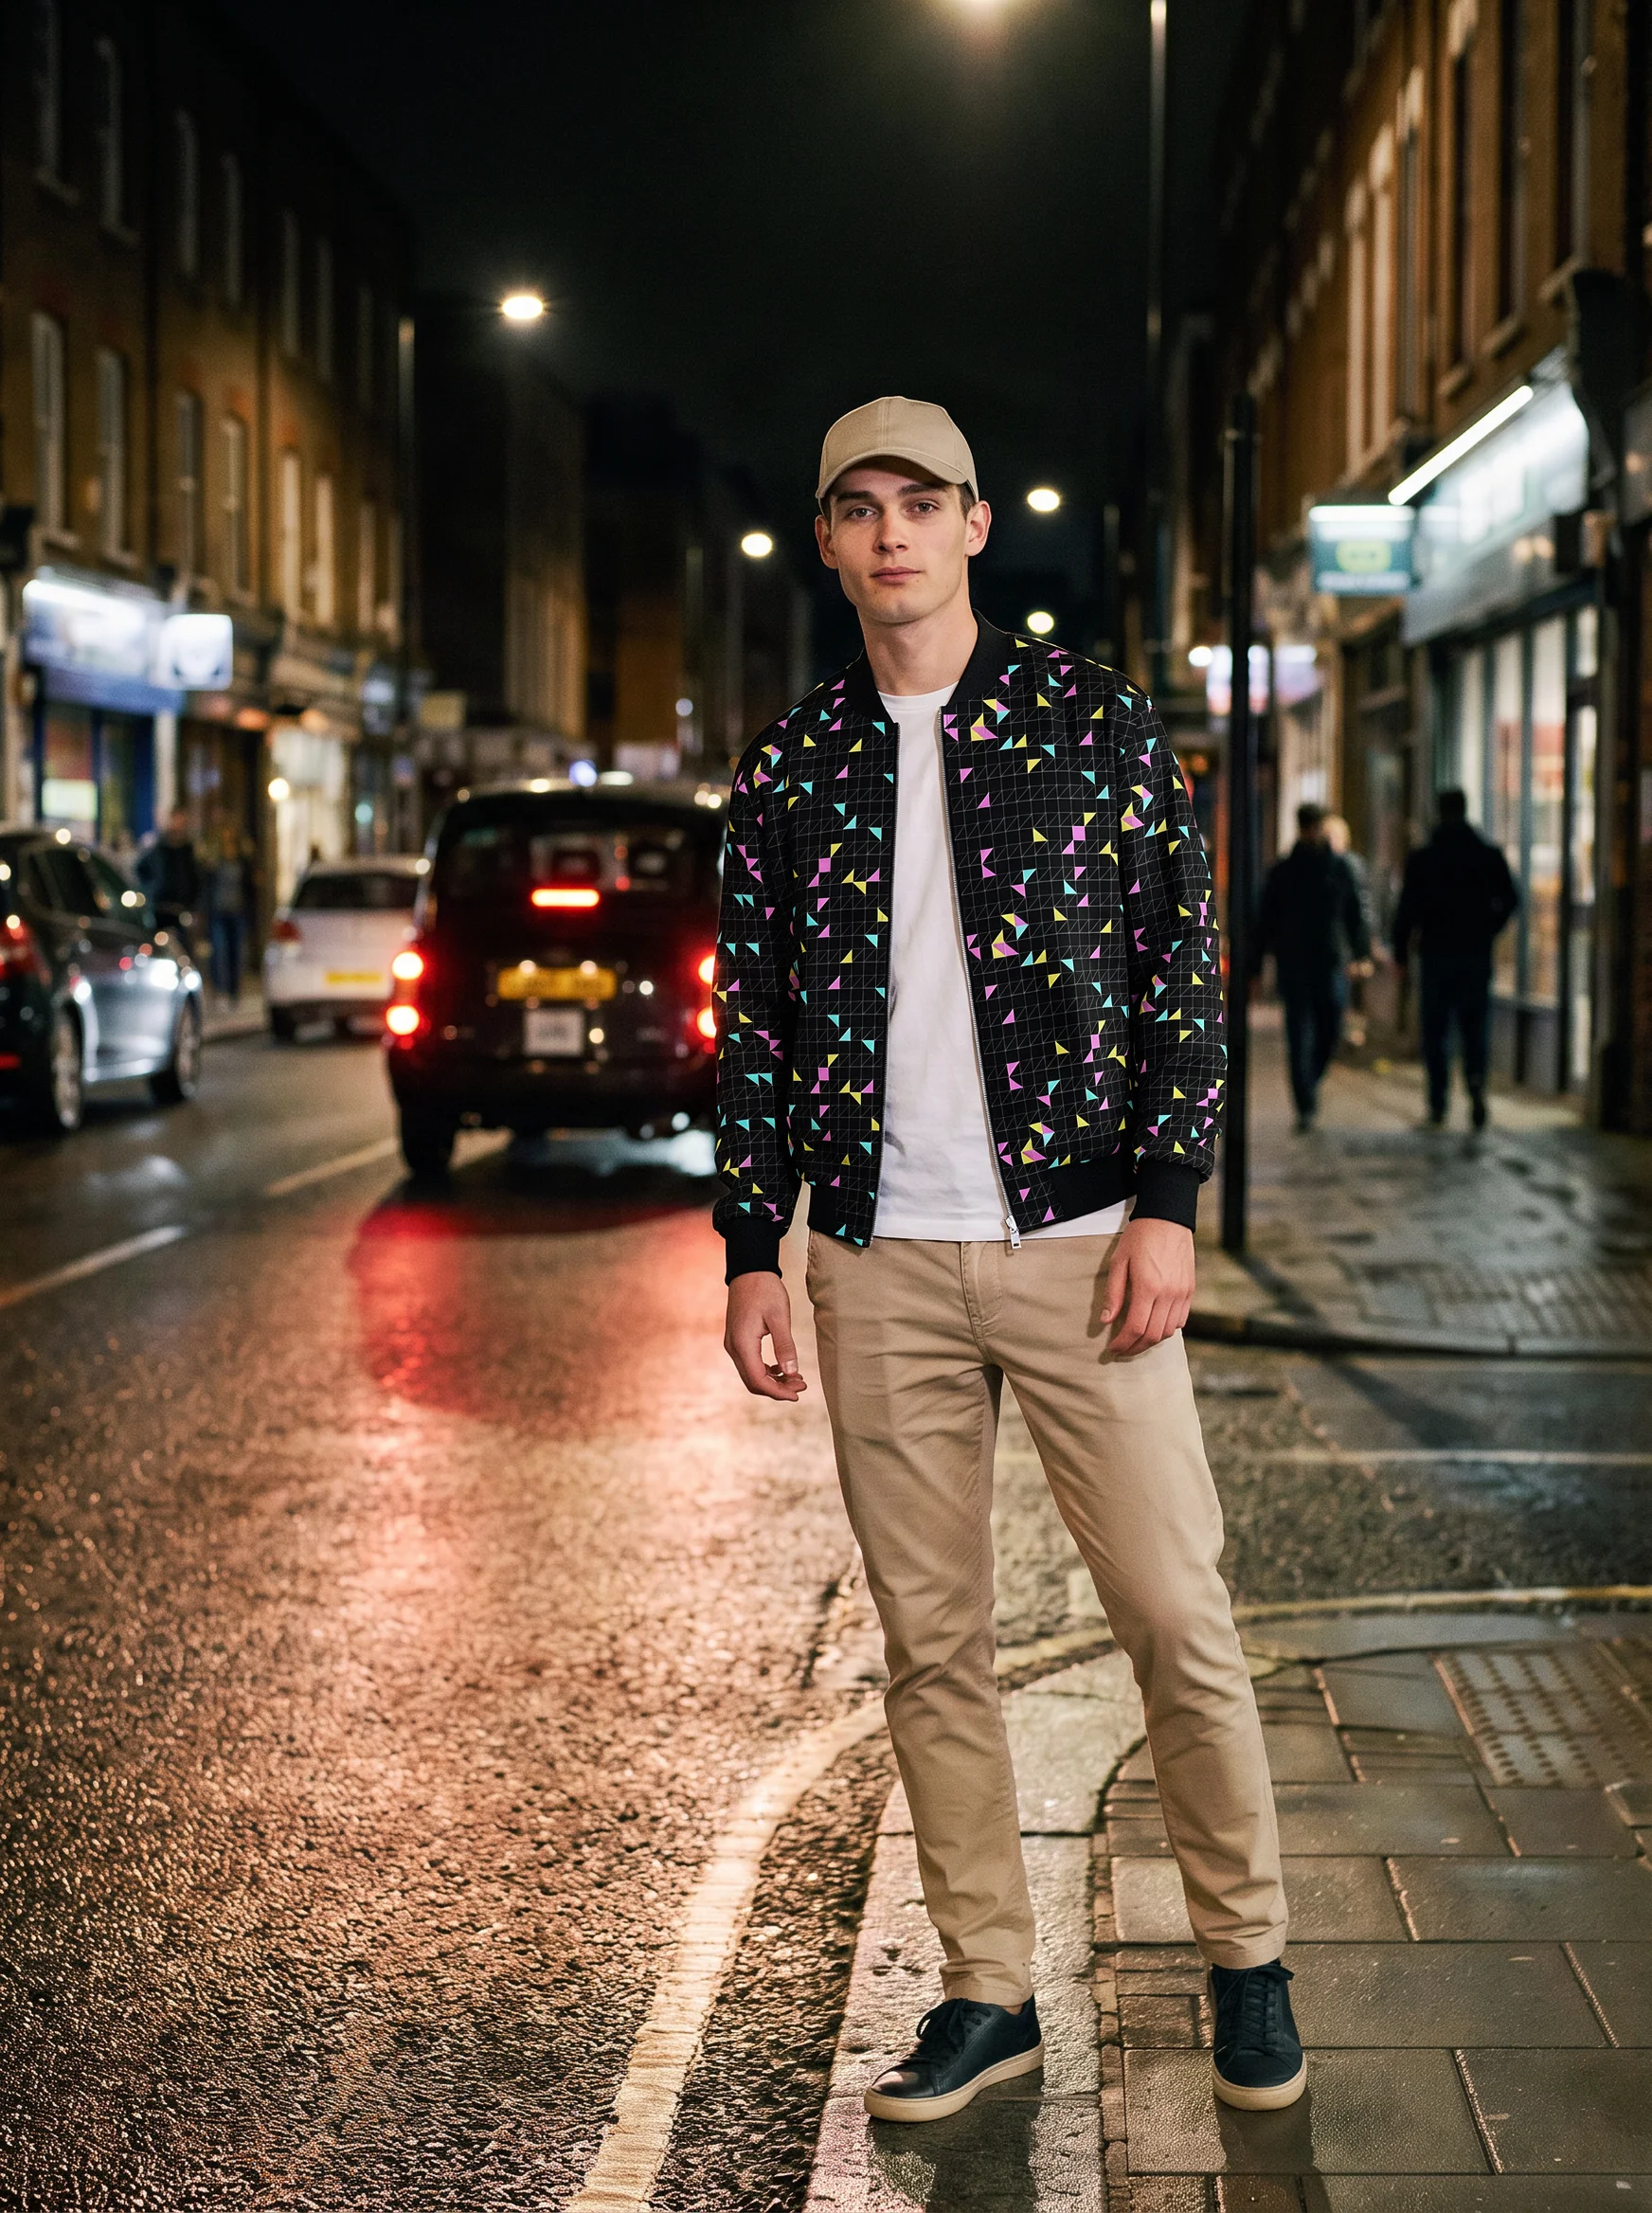
Shade is also a tool in its own right. The bright light just outside your shaded patch becomes a directional source you can aim. Turn your subject to face it, and you get clean detail plus a catchlight in the eyes, that tiny spark that makes a portrait feel alive. Turn them roughly 90 degrees instead, and the light sculpts the face with depth. Burn describes exactly this effect on a Barbados street portrait, where the light carved a small Rembrandt triangle beneath the eye, a technique named for the painter who mastered dramatic, sculptural shadow centuries before photography existed.
A light-coloured wall nearby works as a free, oversized reflector. And where there’s no wall or building to lean on, like an open beach, a 5-in-1 reflector kit earns its keep: diffusion fabric to soften direct sun, plus white, silver, or gold panels to bounce it back exactly where you want it.
Shooting this on a phone
None of this needs a camera bag. A phone handles golden hour and open shade convincingly if you manage exposure manually rather than trusting the scene to guess. Tap the subject’s face to focus, then hold your thumb on that same spot until it locks, most phones show an “AE/AF Lock” label, and drag the little sun icon down slightly to protect the highlights on their skin. That single lock stops the phone from re-metering every time a cloud passes or the subject turns their head. For backlit shots, tap the shadowed side of the face specifically, not the bright background, or the whole image reads as a silhouette. Open shade works even better on a phone than direct sun does, since the smaller sensor struggles with the dynamic range of full daylight but handles the gentler contrast of shade cleanly.
Editing for warmth, not correction
The edit should protect what the light already did, not invent a mood in post. In Lightroom or Lightroom Mobile, start with the Shadows and Blacks sliders pushed up slightly to lift the underexposed side of a split-lit face without flattening the shadow entirely, then nudge Highlights down a touch if the sunlit skin is close to clipping. Leave White Balance where the daylight setting put it; warming it further usually tips golden hour into an orange filter effect. A small Vibrance boost, rather than Saturation, keeps skin tones honest while still lifting the sky and foliage.
Snapseed, free and phone-native, does the same job with fewer sliders: use the Tune Image tool’s Shadows and Highlights controls the same way, then the Selective tool to brush a touch more brightness onto just the eyes, since a catchlight is often the first thing a viewer’s own eye finds in a portrait. Whatever the app, the test is simple: if the edit is doing work the light and the filter should have done on location, it’s over-corrected.
The same instinct, reading available light and shaping it rather than fighting it, applies whether you’re photographing a person or a product; see our guide on modern product photography for the studio-lighting version of this thinking.
Go back to that woman in the doorway. Now you know why she works: the sun found her at the right angle, the white balance kept the warmth, and the shadow line wasn’t an accident, it was placed. That’s the whole craft. Not chasing perfect light, but noticing what the light is already doing and nudging it half a step further.
Frequently Asked Questions
Q: What is the best time of day for natural light portraits?
A: Golden hour, the period shortly after sunrise or before sunset, offers the softest, warmest, most flattering light for portraits, especially when the sun is positioned behind the subject for a backlit glow. It’s often shorter than an hour, sometimes closer to twenty minutes, so plan the shoot to move quickly.
Q: How do I stop my camera from removing the warm tones during golden hour?
A: Switch off auto white balance and set it manually to “daylight” or a Kelvin value of roughly 5,000-5,600K. This preserves the warm tones the light is already producing rather than letting the camera neutralise them.
Q: Do I need an ND filter for portrait photography?
A: Only if you want a wide aperture in bright light without overexposing. A 3-stop ND covers most golden-hour and midday portrait work; 6-stop suits brighter conditions or slower shutter effects; 10-stop is mainly a landscape tool and makes autofocus difficult for portraits.
Q: How do you photograph portraits in harsh midday sun?
A: Move the subject into open shade, such as beside a building, under an archway, or beneath a tree, then use the bright light just outside the shade to add directional detail and catchlights.
Q: What is a Rembrandt lighting effect and how do you create it outdoors?
A: It’s a small triangle of light beneath the eye that adds sculptural depth to a face; outdoors, you can create it by turning a subject roughly 90 degrees within open shade toward a nearby light source.
Q: Can I get good natural light portraits on a phone?
A: Yes. Tap to focus on the face, lock exposure and autofocus together, and drag the exposure slider down slightly to protect highlights on the skin, then edit in an app like Snapseed to lift shadows without flattening the light.
Source: https://fstoppers.com/lighting/some-thoughts-about-portrait-photography-using-natural-light-707675
This article was researched and written with AI assistance, then reviewed for accuracy and quality. Talulah at Its.That. uses AI tools to help produce content faster while maintaining editorial standards.