



\n
Last updated: June 19, 2026
\n
 \n
\n
\nImage: PhotoWhoa / Udemy Street Photography Composition course
\n
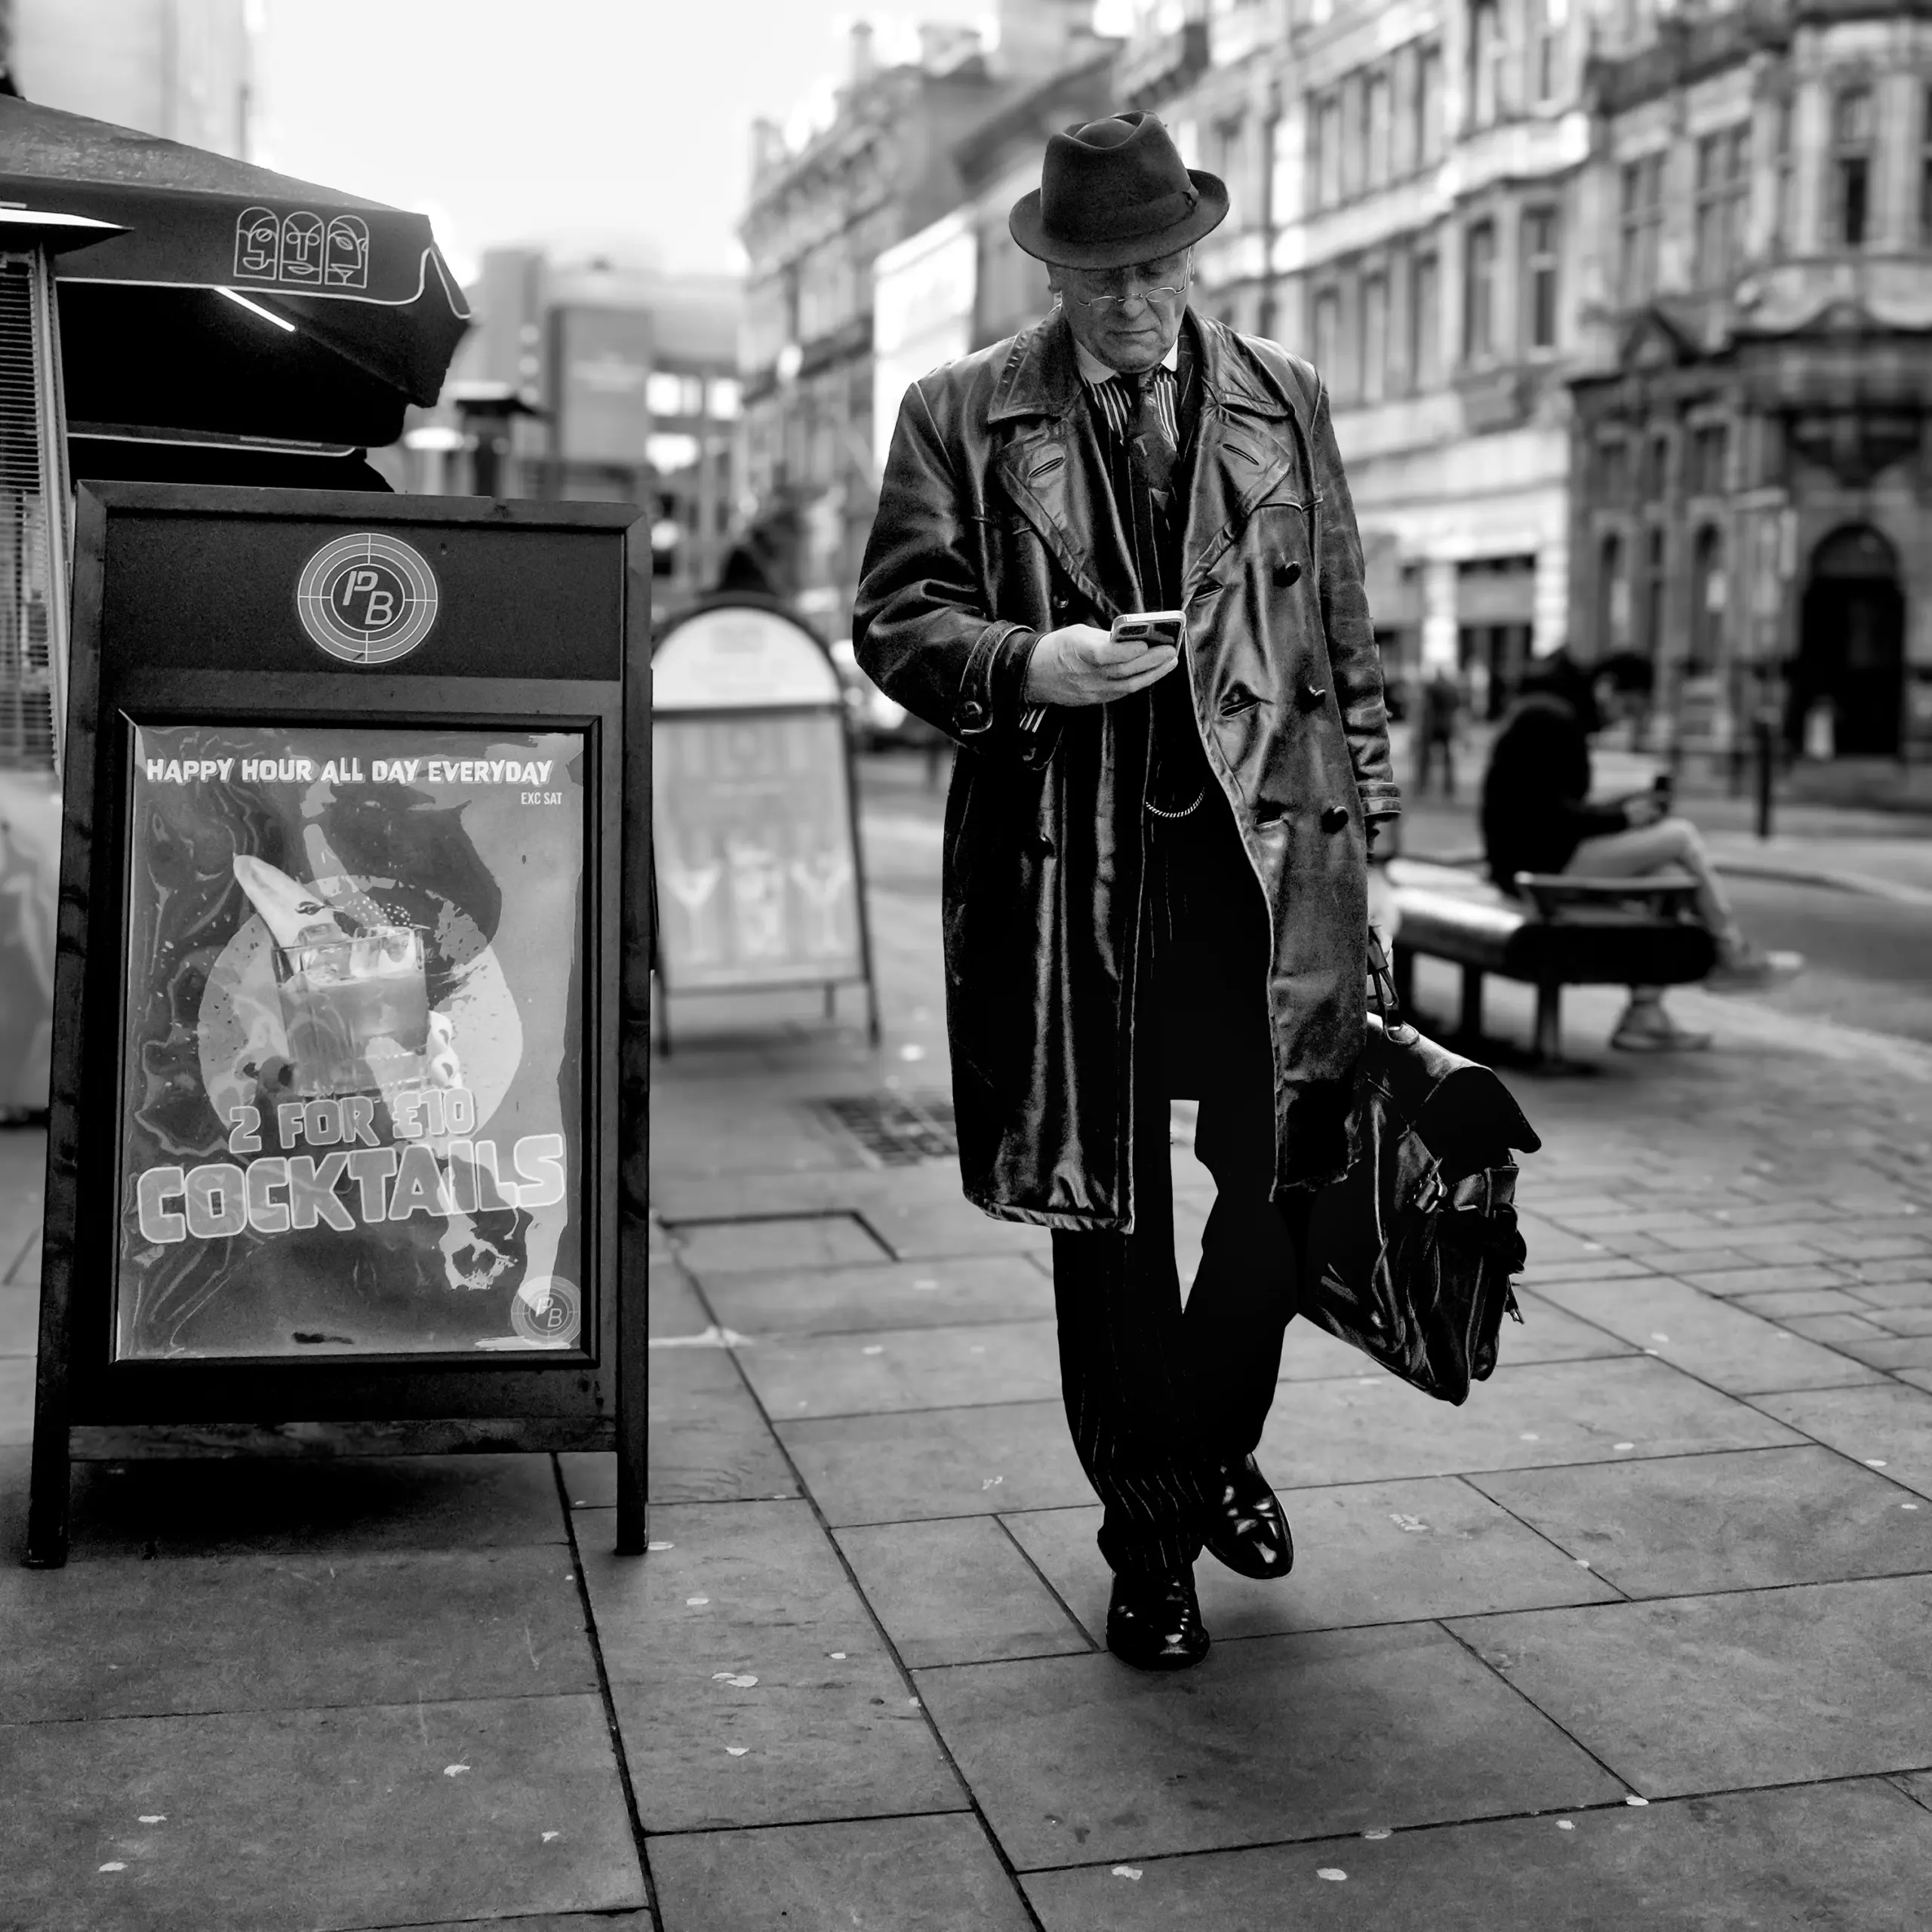
Picture this: a narrow alleyway slicked with evening rain. Amber light bleeds from a shopfront across wet stone, and a lone figure in a dark coat rounds the corner at precisely the moment they step through the gap between two pillars – a natural frame we noticed ten minutes ago and have been watching ever since. We are already focused. We press the shutter. The image that results is not luck.
\n
This is the central paradox of street photography: it looks spontaneous, but it feels intentional when it works. The question worth sitting with is whether street photography composition can genuinely become a repeatable skill – or whether it will always depend on being in the right place at the right time. The answer is more methodical than most people expect, and it begins not with a camera but with learning to read a location before we raise the viewfinder.
\n
How Street Photography Composition Speaks the Brain’s Visual Language
\n
 \n
\n
\nImage: PhotoWhoa / Udemy Street Photography Composition course
\n
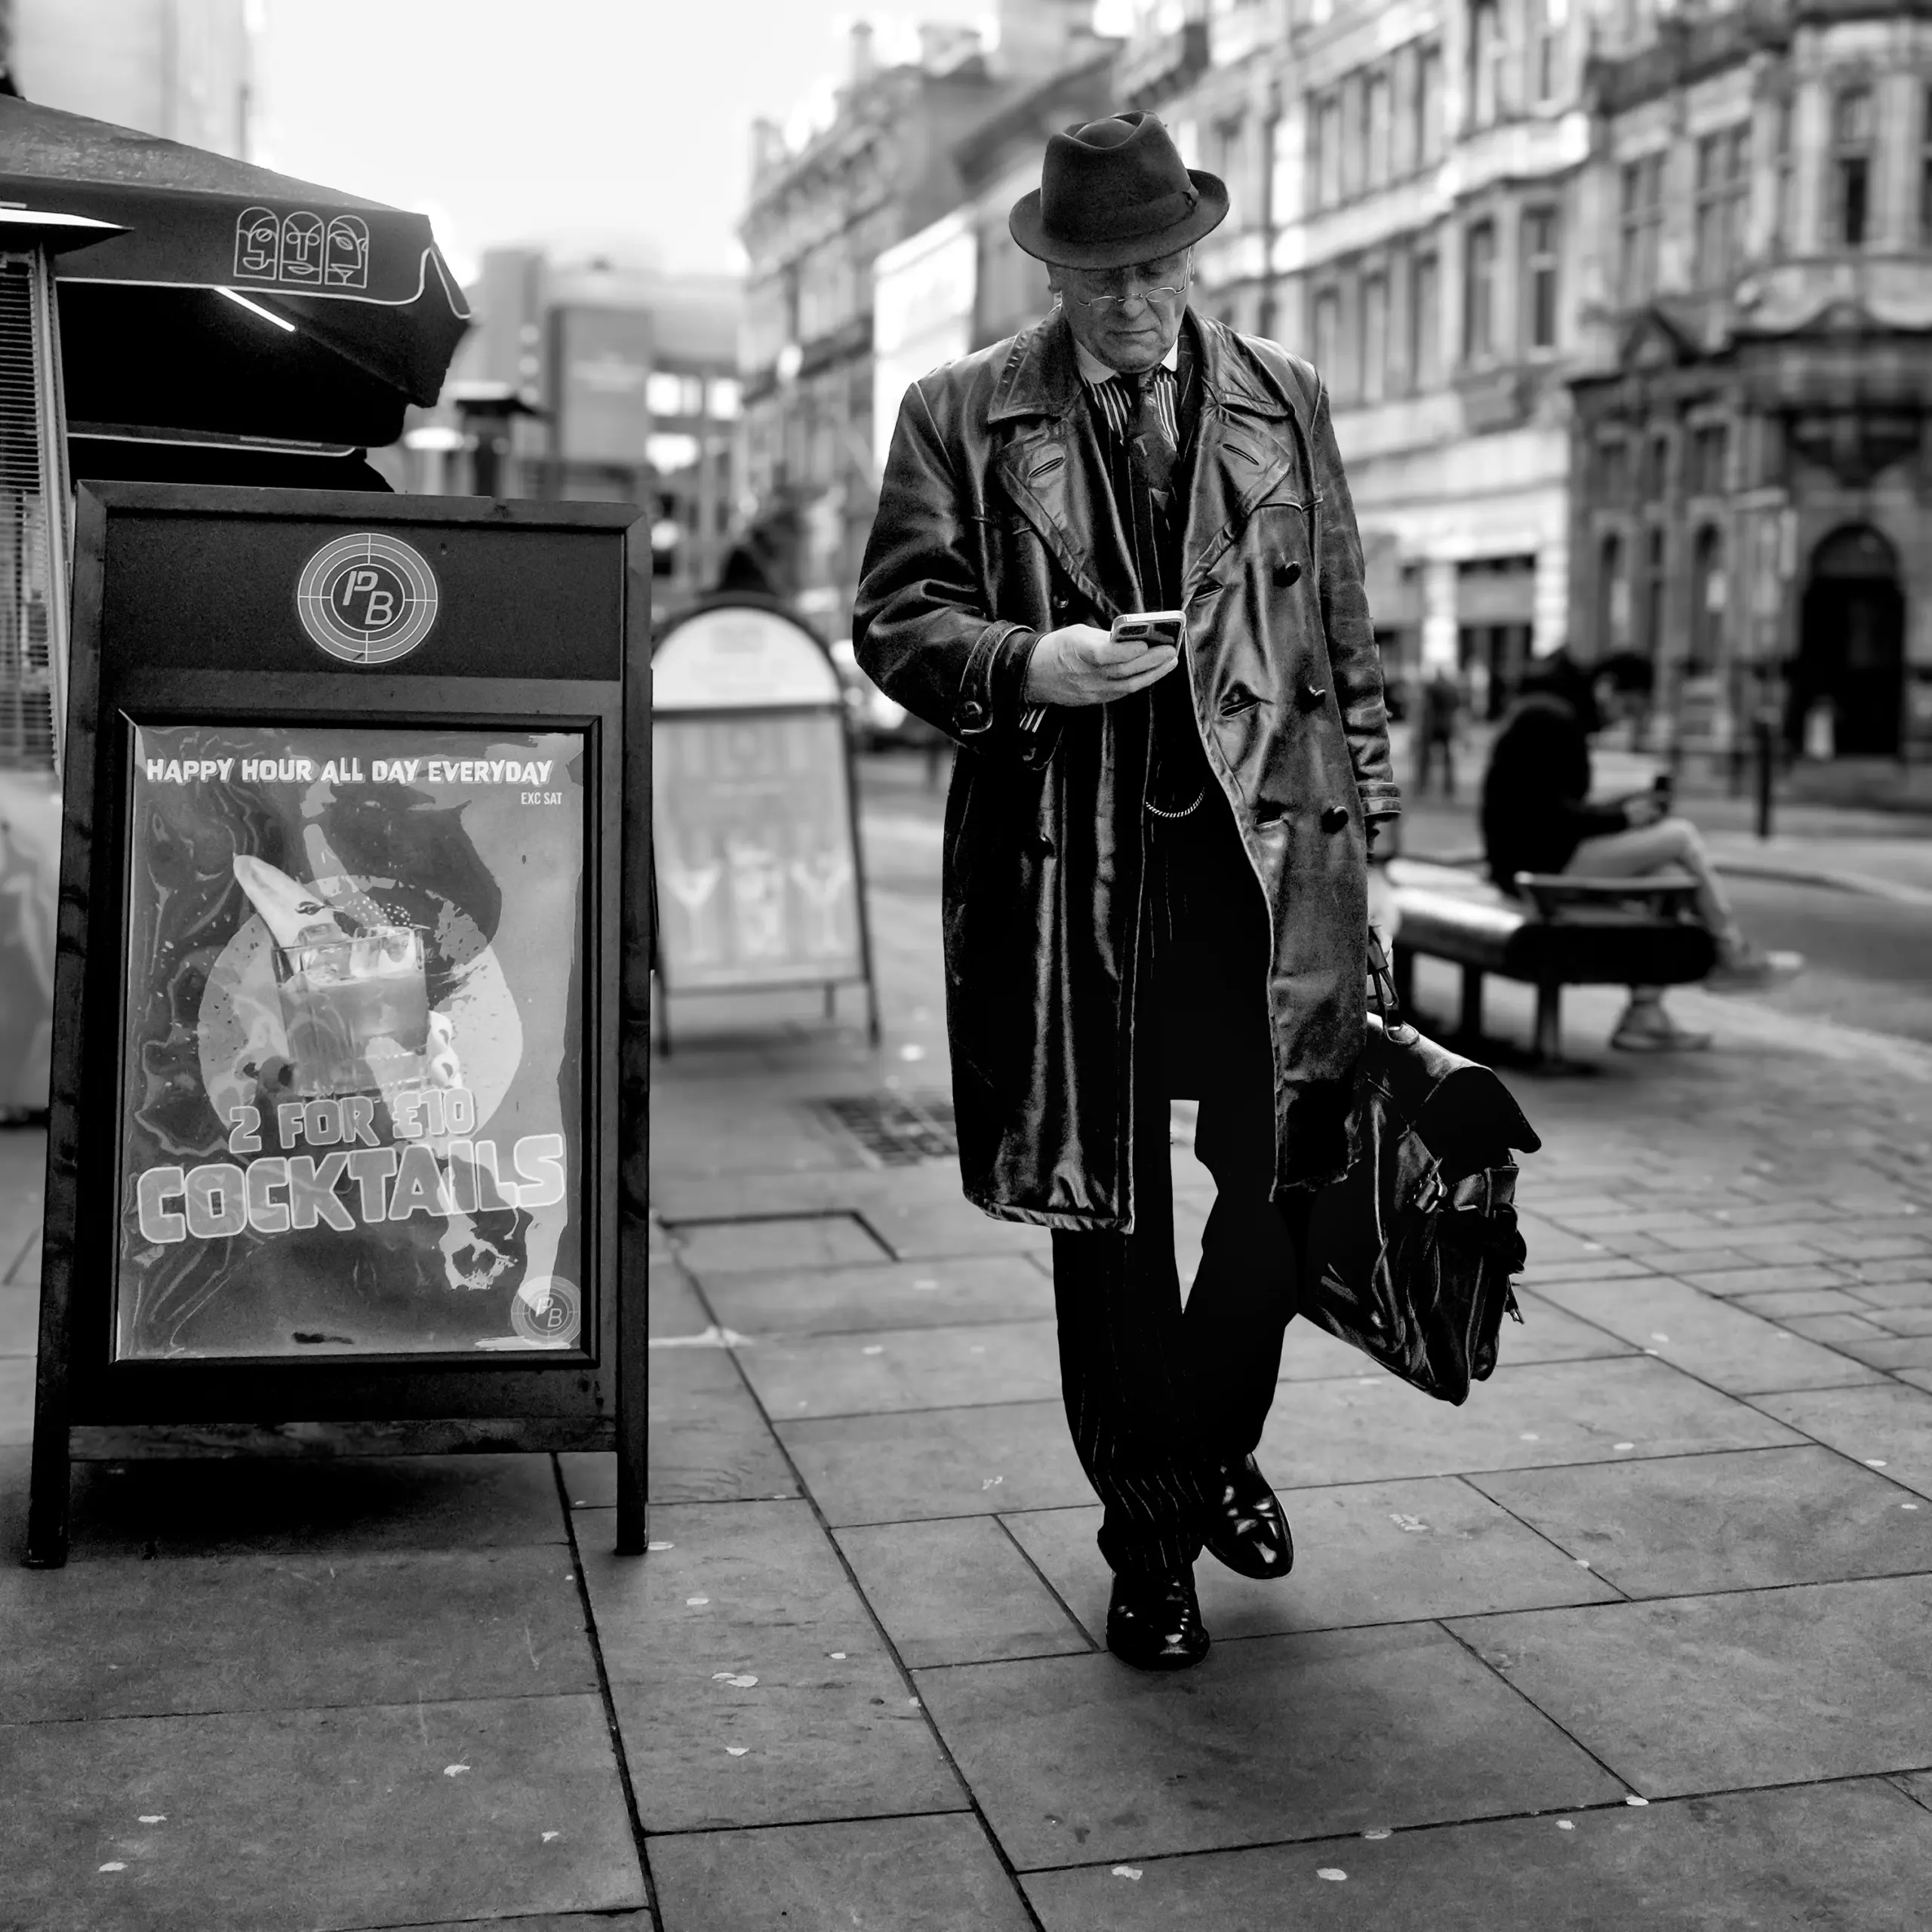
The brain does not see a street scene the way a camera sensor does. It searches for patterns, edges, and points of contrast before it registers content. This is why certain photographs grip us immediately: the image communicates directly to visual instinct rather than requiring interpretation.
\n
Core compositional structures – the rule of thirds, leading lines, sub-framing (frame-within-frame), symmetry, and deliberate layering – map directly to how attention moves across a visual field. A strong leading line carries the eye towards a subject the way a sentence carries meaning to its verb. Sub-framing, where we use an archway, a window, or a gap in a crowd to border our subject, creates depth and signals importance: this person matters. Layering foreground and background elements introduces ambiguity and tension – the viewer has to work slightly harder, and that engagement is precisely what makes an image stay with them after they look away.
\n
A practical method for building this spatial instinct is to use grid lines on your camera or phone display. It sounds mechanical, but it trains us to place horizon lines deliberately, to notice when a subject drifts to the centre when a third would create more energy, and to treat the frame as a stage rather than a window. For those working on phones, 5 mobile photography tips that can instantly improve your camera skills offers grounding in translating these instincts to a smaller sensor – the technical ceiling of any modern phone is well above the demands of street work.
\n
Building the Frame: Where to Stand and What to Watch For
\n
Before we think about subjects, we think about geometry. We walk a location and look for natural frames – archways, doorways, pillars, the gap between a market stall and its canopy. We note where shadows fall and what shapes the light creates on the pavement. Then we choose our position based on what the background does, not just what the foreground offers. A cluttered background competes with the subject; a plain wall, a wash of colour, or a pool of shadow lets the subject breathe.
\n
Once we have a position, we look for three compositional anchors: a leading line (a kerb, a row of bollards, a stripe of light) that draws the eye into the frame; a framing element that isolates the subject; and a pocket of negative space where the subject can visually rest or move into. Negative space is often overlooked by beginners, who instinctively fill the frame. Leaving room – a grey sky above a silhouetted figure, blank wall to the side of a face – gives the image air and lets the viewer’s eye settle.
\n
Colour contrast is a quieter tool but equally powerful. Saul Leiter spent decades in New York finding images where a single saturated colour – a red umbrella reflected in a taxi window, a yellow coat disappearing around a corner – anchors an otherwise muted scene. We can do the same: look for a single bold colour against a neutral background, position ourselves so the colour sits at a third rather than dead-centre, and wait for a subject or gesture to complete the frame. The colour does the heavy lifting; we simply time the release.
\n
Subject gesture matters as much as position. A still figure reads as portrait; a figure mid-stride reads as narrative. We look for micro-gestures – a hand reaching for a door handle, a head turning at the last moment, a foot lifting off the ground – because these suggest movement and story even in a frozen frame. When a subject makes eye contact with the lens, the viewer cannot remain detached; when they look away, the viewer becomes a quiet observer. Both are valid. We choose consciously.
\n
What Henri Cartier-Bresson and Stephan Gladieu Teach About Intentional Framing
\n
The decisive moment sounds mystical. In practice, it is methodical. Henri Cartier-Bresson introduced the concept to describe the instant when composition, form, and meaning converge in a single frame – but the technique that produces it is done in advance. We identify a strong geometric frame first: light falling through a doorway, railings creating a leading line, a reflective puddle doubling the scene. Then we wait. The decisive moment is the intersection of preparation and chance, not pure chance alone. We are setting a trap, not hunting blindly.
\n
Stephan Gladieu’s photographs of North Korea demonstrate this at its most deliberate. Using sharp tonal contrasts, direct subject gaze, and bold colour blocking, Gladieu creates images that make an invisible population viscerally present to outside viewers. Every compositional choice is intentional: colour anchors meaning, direct eye contact refuses to let the viewer remain detached, and the symmetry of formal poses grants dignity to subjects rarely seen on the world’s terms. His work is a reminder that compositional choices carry political weight – they determine what a viewer can and cannot ignore.
\n
For narrative coherence across a shoot, it helps to plan a simple arc before we leave home: a set-up (the environment and its mood), an action (a moment of movement or gesture), and a result (the aftermath, the expression, the shift in atmosphere). This three-beat structure – borrowed directly from storytelling craft – keeps us mentally present and intentional rather than waiting passively for something to happen.
\n
Settings for Mirrorless and Phone Shooters
\n
Gear conversations in street photography often miss the point, but settings matter – not because they are complicated, but because getting them wrong means losing the moment to motion blur or an overexposed face.
\n
For mirrorless cameras, aperture-priority mode is the practical choice for most street conditions. Set the aperture between f/5.6 and f/8 for generous depth of field that keeps a moving subject sharp even if focus is slightly off; drop to f/2.8 or f/4 in low light when we want subject separation from a busy background. Set a minimum shutter speed of 1/250s in-camera – this freezes most pedestrian movement without requiring us to think about it – and let Auto ISO handle the exposure. On most modern bodies, Auto ISO up to 6400 is clean enough for anything we will publish at web resolution.
\n
For phone shooters, the principles are the same but the controls are lighter. Lock focus and exposure by long-pressing on your subject in the native camera app. In bright conditions, swipe down to reduce exposure slightly – streets with strong shadows and bright skies need a touch of underexposure to hold detail in both. Use the 1x or 2x lens rather than digital zoom; the 0.5x ultra-wide distorts faces unfavourably for portraits. If your phone supports a pro or manual mode, set ISO manually below 400 in daylight and keep shutter speed above 1/200s.
\n
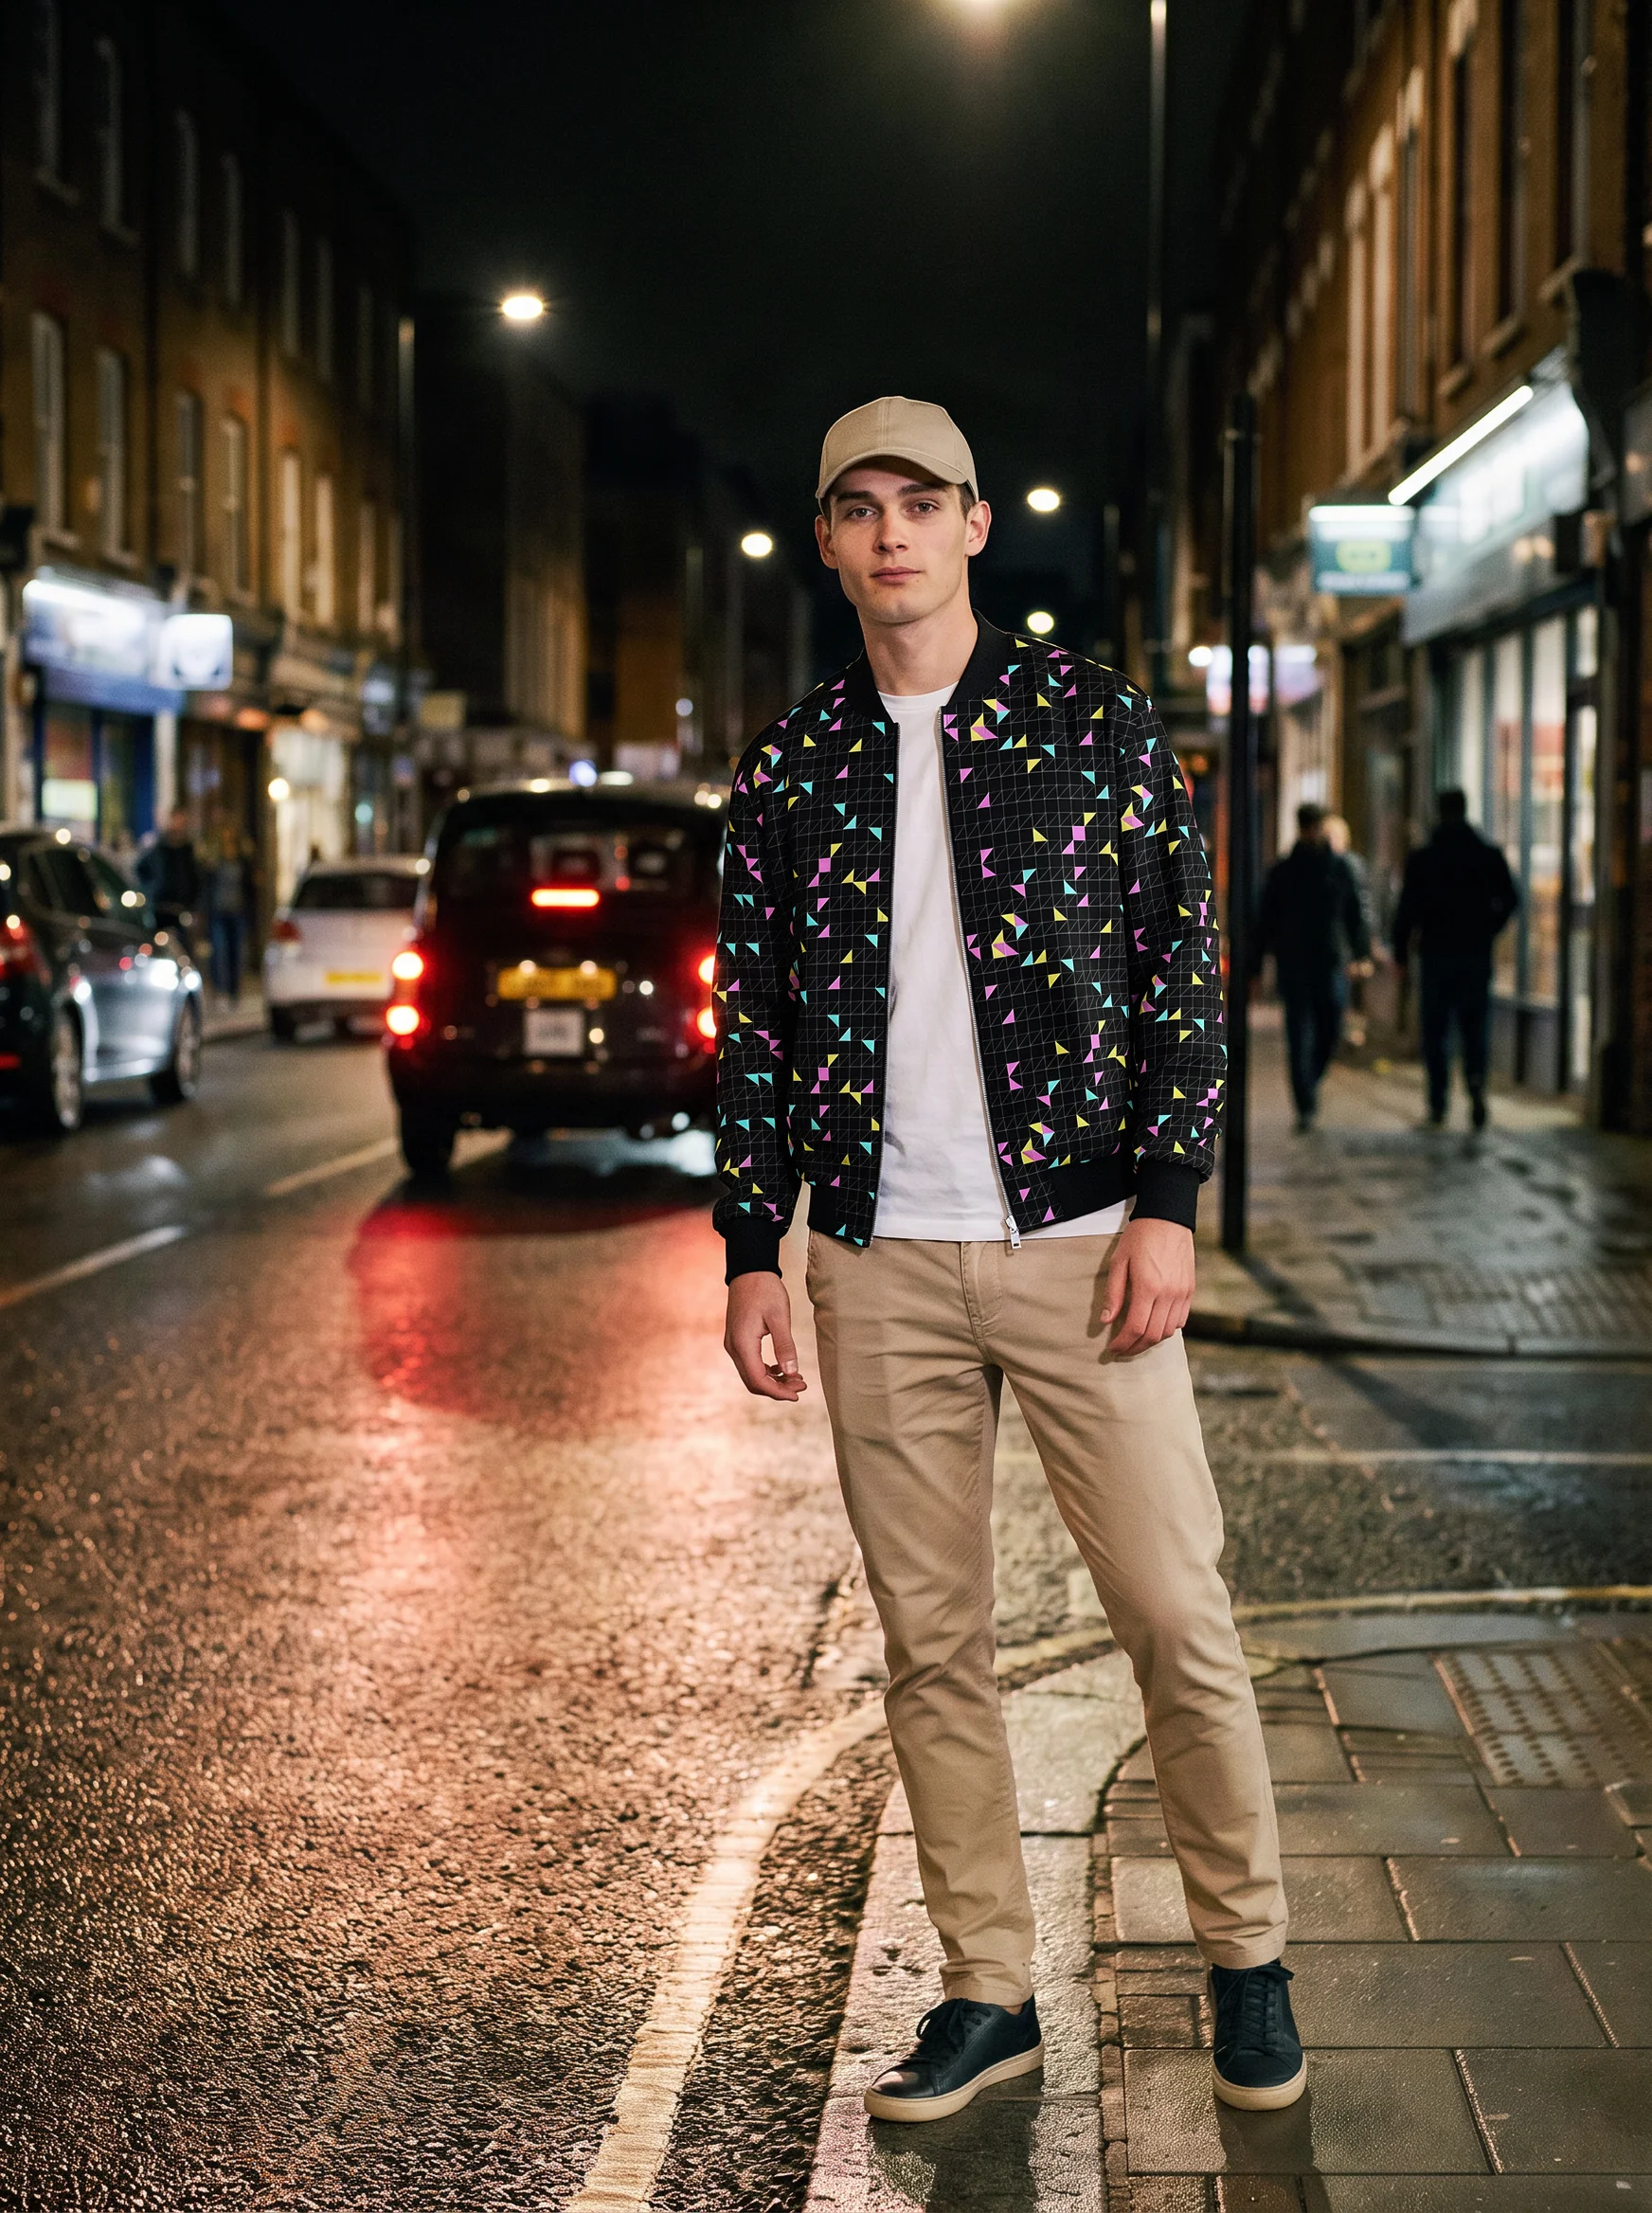
Film-noir lighting – deep shadows, hard edges, a single source – reproduces naturally in city streets at dusk. Wet pavements act as reflectors, bouncing light upward onto faces in a way that flatters and dramatises simultaneously. We position subjects between us and a single strong light source – a streetlamp, a lit shopfront, a car’s headlights – so that the light rims them or catches one side of the face. The opposite side falls into shadow. This is not a studio technique; it is a matter of positioning ourselves so the city’s existing light does the work.
\n
What Street Photographers Miss About Light, Timing, and Gear
\n
Light and timing are the two variables that street photographers argue about most, often as if they were in opposition. They are not rivals – they are variables with different adjustment speeds, and understanding the difference changes how we approach a location.
\n
Light changes slowly: golden hour lasts around thirty minutes, blue hour slightly less, overcast diffusion all day. Timing is instant. The practical approach is to scout for quality light first, identify the compositional structures the light creates or enhances, and then remain ready to react to timing. This means knowing our camera well enough to adjust exposure reactively without looking away from the scene. Aperture-priority with a minimum shutter locked in frees the mind to watch the street rather than manage the histogram.
\n
Physical comfort shapes composition more than most photographers admit. A heavy kit on a long shoot creates fatigue, and fatigue collapses presence. We miss the moment not because we lack skill but because we are tired of carrying the camera. A compact mirrorless body or a phone in a jacket pocket removes the friction between intention and execution – the image we almost took is always the one we were too slow to raise the camera for.
\n
Colour, Mood, and Editing Workflow
\n
Post-processing is a compositional extension, not a cosmetic addition. The tonal choices we make in editing reinforce the mood we built in-camera, and a consistent colour approach across a series creates visual narrative on its own.
\n
For a film-noir feel, we work in two stages. First, we convert to black and white and adjust the luminosity of individual colour channels: lifting the red channel brightens skin and brick, pulling blue darkens skies and water. High contrast and crushed shadows direct the eye and strip away distraction. Second, for colour work, we reach for a filmic grade rather than a saturated one – muted mid-tones, lifted shadows (so blacks never go fully black), and a slight warm shift in the highlights. This produces the faded-but-present quality of Saul Leiter’s colour work, where the palette feels aged and deliberate rather than processed. How to Use colour Lookup Tables (June 2026) Filmic colour Grades walks through how LUTs can codify a tonal approach and keep a series visually cohesive across a full shoot.
\n
\n
Does understanding composition and light transform ordinary street scenes into photographs people stop for?
\n
Yes – but the transformation is cumulative rather than sudden. Learning where the eye travels in a frame, why certain structures create tension and others create resolution, how a single colour or a pool of shadow can carry an entire image – these are habits built through deliberate repetition. Cartier-Bresson’s decisive moment is available to anyone willing to arrive at the scene first and do the compositional work in advance. We prepare the frame. We set our exposure. We watch the geometry until it fills with life. The photograph that results belongs to both the craft and the street.
\n
\n
Frequently Asked Questions
\n
Q: What is the most important street photography composition technique for beginners?\nA: Start with the rule of thirds and leading lines – these two tools build the spatial intuition that underpins every other compositional decision. Using grid lines on your camera display accelerates the learning process by making the framework visible until it becomes instinctive.
\n
Q: What does Henri Cartier-Bresson’s decisive moment mean in practice?\nA: It means doing the compositional work before the moment arrives. Identify a strong frame – a doorway, a shadow, a leading line – and wait for a subject to enter it. The decisive moment is the intersection of deliberate preparation and chance timing, not spontaneity alone.
\n
Q: What camera settings should I use for street photography?\nA: For mirrorless cameras, use aperture-priority mode, f/5.6-f/8 for general street work, a minimum shutter speed of 1/250s, and Auto ISO. For phones, lock focus and exposure by long-pressing on the subject, keep ISO below 400 in daylight, and use the 1x or 2x lens rather than digital zoom.
\n
Q: Should I prioritise finding good light or reacting to timing in street photography?\nA: Both, but separately. Scout quality light first and identify the compositional structures it creates, then remain ready to react instantly to timing. Light changes slowly; timing is immediate. Treating them as complementary disciplines produces stronger results than chasing one at the expense of the other.
\n
Q: How do I recreate film-noir lighting on city streets?\nA: Position your subject between you and a single strong light source – a streetlamp, a lit shopfront, reflected wet pavement. The light should rim or catch one side of the face while the opposite side falls into shadow. Dusk and early evening in any city provide this naturally; wet weather amplifies it.
\n
Q: Does gear quality matter in street photography?\nA: Not in the way most people assume. A modern phone sensor is technically sufficient for strong street work. What matters more is ergonomics – comfortable, accessible gear extends shooting stamina, which keeps us mentally present for fleeting moments that heavy or awkward equipment causes us to miss.
\n
Q: How do I add visual storytelling structure to a street photography shoot?\nA: Plan a simple three-beat narrative arc before you start: set-up (the environment and mood), action (a moment of movement or gesture), and result (the aftermath or expression). This structure keeps us intentional and present rather than waiting passively for something interesting to occur.
\n
Source: https://www.udemy.com/course/street-photography-composition/
\n
This article was researched and written with AI assistance, then reviewed for accuracy and quality. Talulah at Its.That. uses AI tools to help produce content faster while maintaining editorial standards.
\n