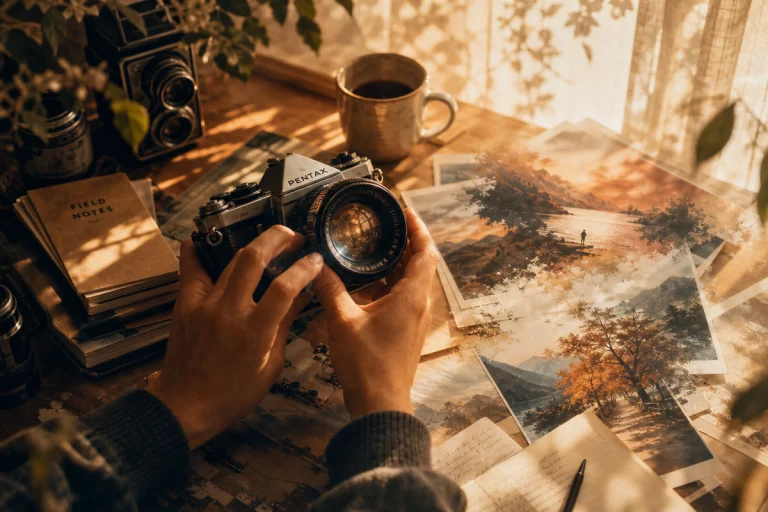





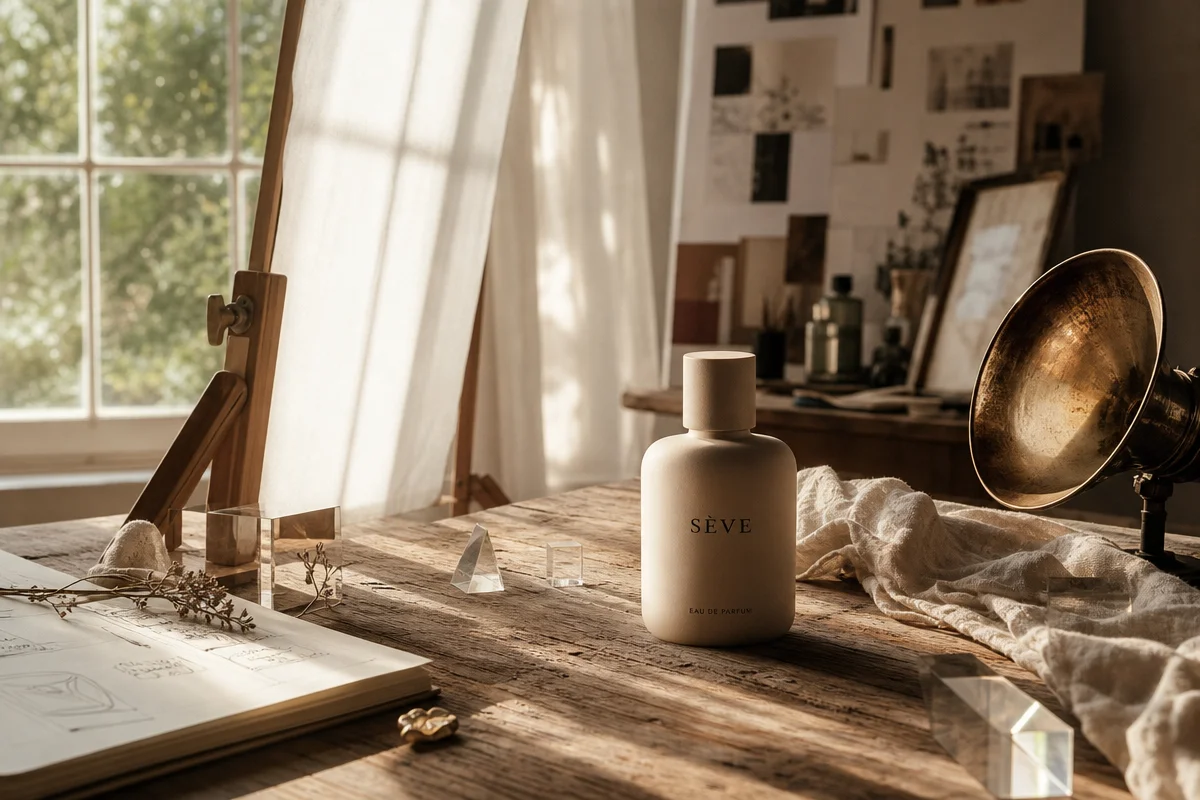
Picture this: a ring of soft daylight pooling across a walnut watch case, one gentle shadow falling to its right like a sundial marking noon. Nothing about the scene shouts for attention – no flash, no drama – yet every facet of the metal reads clearly, every grain of the wood catches light without glaring. That’s the target. Not spectacle. Precision.
A single desk lamp and a sheet of white paper can outperform a £2,000 studio kit – if the angles are right. That’s the secret most e-commerce sellers never learn: product photography lighting isn’t about equipment budget, it’s about control. Get the geometry right and a £15 reflector does what a second strobe costs ten times more to achieve.
That distinction matters more than most sellers realise. A 2023 Forbes/Bazaarvoice study found that 70% of online shoppers say product content quality can make or break a sale, and lighting is consistently one of the biggest factors behind “quality” in that equation. Not resolution. Not props. Light.
Prerequisites
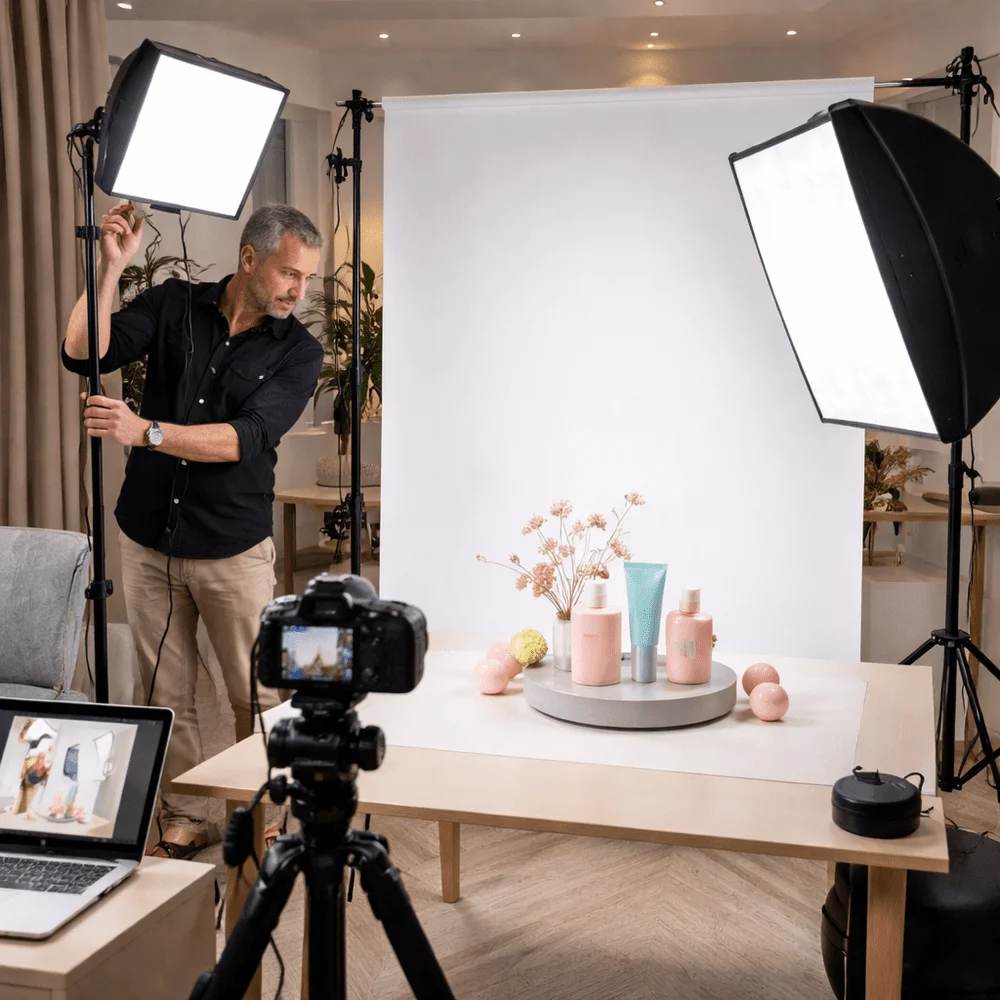
Image: Orbitvu
We don’t need a studio. We need one light source (a window, a lamp, or a proper strobe), something to modify it, and a way to record the result cleanly. “Modify” covers two separate jobs that are easy to conflate: diffusing the light to soften it, and bouncing it back with a reflector to fill in shadow. Neither is a second light – think of them as volume and treble knobs on the one signal you’re sending. Beyond that, a tripod for consistent framing and a plain backdrop – seamless paper, muslin, a marble slab, even a painted wall – round out the kit. Editing software (Lightroom, Photoshop, or even Snapseed on a phone) isn’t optional extra credit here; it’s the final stage of the lighting workflow, not a fix for a bad shoot.
Step 1: Choose your key light
The key light is your main light source, and it does most of the storytelling. Place it at roughly 45 degrees to the camera – a position photographers have used since Rembrandt worked out how a single window could sculpt a face. That angle creates enough shadow to describe shape without hiding detail.
Size and distance matter as much as position. A light source that’s large relative to the product produces soft, wraparound shadows; a small, distant one produces harder, more graphic ones. That’s why photographers move a light closer to a small product rather than just cranking the power – proximity is what makes a source “larger” in relative terms. As a starting point, place your key roughly one to two product-widths away and adjust from there by eye.
If you’re shooting with natural light, a window with consistent, indirect daylight (north-facing in the northern hemisphere, south-facing below the equator) tends to give softer, more even output through the day than a window that receives direct sun – though the light still shifts with weather and time of day, so treat it as a starting position rather than a fixed rule. If you’re using artificial light, a single continuous LED panel (around 5600K, daylight-balanced) is the easiest entry point – cheap, always-on, and what-you-see-is-what-you-get for beginners still learning to read shadows.
Step 2: Add a reflector to fill shadow
A reflector doesn’t add drama – it removes some of the shadow the key light creates, using the same light rather than a second source. Bounce light back onto the shadow side of the product using a white foam board or a collapsible reflector, and you soften the contrast without buying anything else. This is the budget move: a £15 reflector does the job a £200 second strobe would otherwise handle. Distance controls strength here too – closer means brighter fill, further back means the shadow reasserts itself.
Step 3: Diffuse the light, don’t just soften it
A diffuser sits between your light and the product, spreading a harsh point source over a wider area so its shadows lose their hard edge. Softboxes do this for strobes; a bedsheet or shower curtain does it for a desk lamp. Think of it like a painter thinning oil paint with medium – same pigment, gentler application. It’s still directional light, just with a softer transition between highlight and shadow, which is what separates an amateur product shot from one that looks retouched before it’s even been edited.
A quick safety note: improvised diffusers – bedsheets, baking paper, shower curtains – are only safe at a distance from hot continuous lamps, particularly older tungsten or halogen fixtures. Keep fabric well clear of the housing, never drape it directly over a lamp, and favour LED panels (which run far cooler) if you’re diffusing close to the source.
Step 4: Choose your lighting direction with intent
Where the light hits the product changes what the photo says. Side lighting rakes across texture – ideal for leather, fabric, wood grain, anything with a surface story to tell. Backlighting pushes light through or around the product, conveying depth and transparency – glassware, liquids, translucent packaging all benefit. Front lighting flattens shadows for clean, no-nonsense e-commerce clarity – the look Amazon-style listings depend on. Pick the direction based on what you’re selling, not habit.
Different surfaces need different treatment entirely:
Matte, textured products (leather, ceramics, fabric, wood) are the most forgiving. Side or 45-degree lighting with moderate diffusion reveals grain and weave without a fight – this is where a single key and a reflector will get you 90% of the way there.
Reflective products (jewellery, glossy plastic, polished metal, glass with a shine) will mirror whatever’s in front of them, including your lamp, your diffuser’s edges, and you. Use a larger, closer diffuser – a light tent or a diffusion dome – so the reflection itself becomes a soft, even glow rather than a hot spot. Angle the light off-axis from the camera so you’re not shooting your own reflection back at the lens.
Transparent products (glass, liquids, clear packaging) usually read best backlit or side-lit through a diffuser, so light passes through the material rather than bouncing off its surface. A white or black card behind the product (rather than the light itself) controls whether edges read bright or defined – white for an airy look, black for graphic contrast against glass edges.
Step 5: Set the camera, then lock the shot
Camera settings matter as much as the lighting rig feeding them. On a mirrorless or DSLR, start around f/8 to f/11 for enough depth of field to keep the whole product sharp, ISO 100 to keep noise out of shadow detail, and a shutter speed matched to a tripod rather than a handheld guess – anywhere from 1/60s upward, since the camera isn’t moving. A focal length around 50-100mm (or the equivalent zoom on a phone, achieved by stepping back rather than digital zoom) keeps proportions natural and avoids the barrel distortion wide lenses introduce close-up. On a phone, tap to set focus and drag down to pull exposure back slightly – phones tend to brighten shadows more than a “true” exposure would.
Mount the camera on a tripod so every product in a catalogue sits at the same scale and angle – consistency reads as professionalism at a glance. For phones, a small tripod clamp works fine; a locked frame matters more than the sensor behind it. In post, use editing software to balance colour, contrast, and exposure against how the product actually looks in hand – not an exaggerated version of it. Shoppers who receive something duller than the photo return it.
Troubleshooting
Blown-out highlights on reflective products (jewellery, glass, glossy plastic): move the diffuser closer or add a second layer of diffusion material – proximity softens light faster than power reduction does.
Colour cast from mixed light sources: avoid mixing daylight and tungsten in one shot where possible. Pick one temperature and set your white balance to match it, or shoot RAW and correct in editing.
Muddy or grey-looking shadows: your reflector is too close or too strong relative to your key. Pull it back a few inches until you see gentle falloff rather than flat, shadowless light.
Once this key-and-modifier logic is second nature, scaling up to shoot full catalogues gets a lot faster; see our guide on building a catalogue that converts for the next stage. For lighting principles that carry over from people to products, our piece on portrait photography using natural light is worth a look too. And if volume ever outpaces what manual setups can handle, automated lighting rigs exist precisely to keep results identical across thousands of shots – worth knowing about even if you’re not there yet.
That desk lamp and sheet of paper from the opening? They’re still valid tools. The gear was never the barrier – the angles were.
Frequently Asked Questions
Q: What is the minimum lighting setup needed for product photography?
A: A minimal setup needs one key light placed at roughly 45 degrees to the camera, plus a reflector to fill shadows and a diffuser to soften the source – both modifiers to the same light rather than additional light sources.
Q: Can I use a reflector instead of a second light?
A: Yes. A reflector bounces existing light back onto the product to fill in shadows and add highlights, making it a low-cost alternative to a second light source for budget setups.
Q: How does light direction affect product photos?
A: Side lighting emphasises texture, backlighting conveys depth or transparency, and front lighting delivers the clean, shadow-free look typical of e-commerce listings.
Q: Do I need professional studio lighting to sell online?
A: No. A single desk lamp, a diffuser like a bedsheet, and a white-board reflector can produce studio-quality results when positioned correctly – with a bit of extra care around reflective and transparent surfaces.
Q: Why does editing matter if the lighting is already good?
A: Editing software balances colour, contrast, and exposure so the final image matches the product’s real-world appearance, which reduces returns from shoppers expecting what they saw online.
Source: https://orbitvu.com/blog/how-set-product-photography-lighting
This article was researched and written with AI assistance, then reviewed for accuracy and quality. Talulah at Its.That. uses AI tools to help produce content faster while maintaining editorial standards.