Last updated: June 2, 2026
The skill is designed for new articles from topic briefs – but I have everything needed to execute this expansion directly. Let me write the expanded article now.
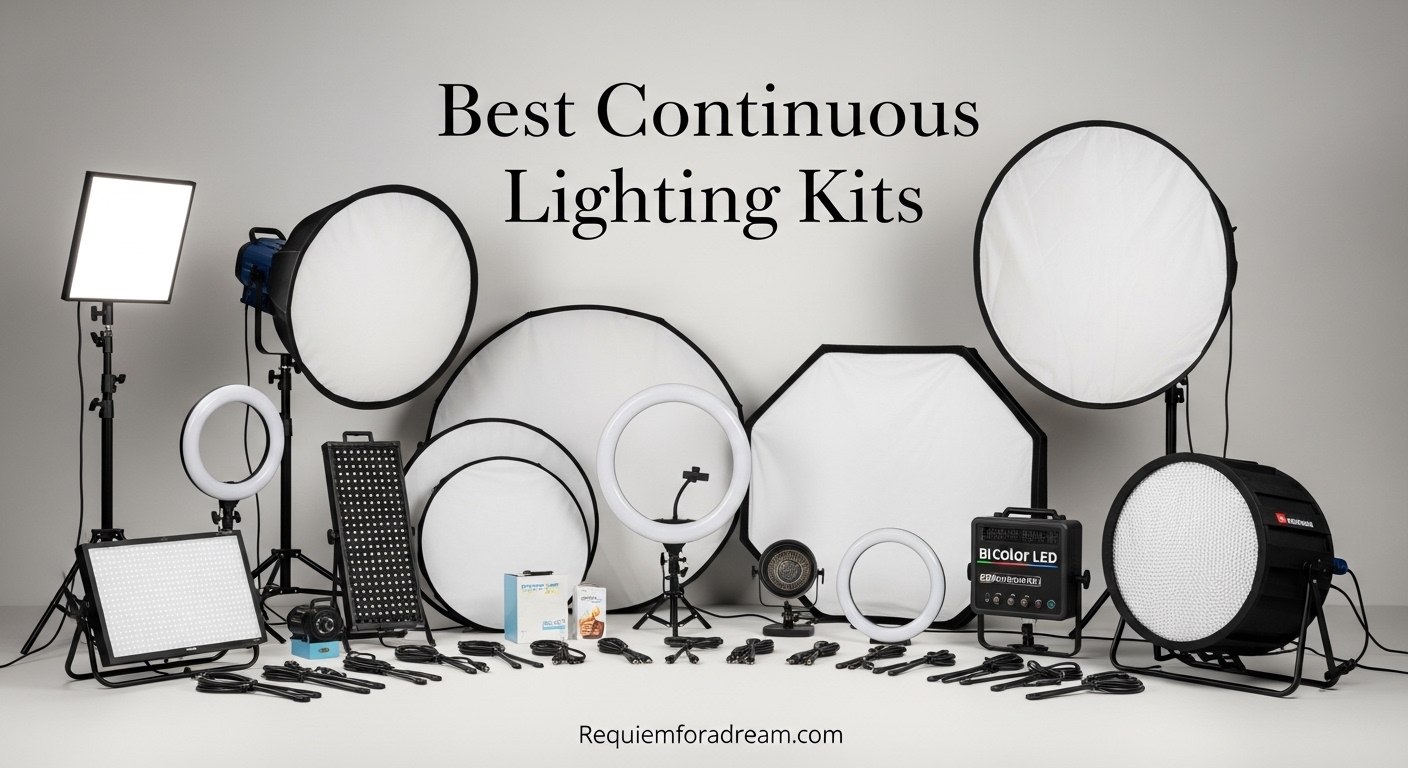
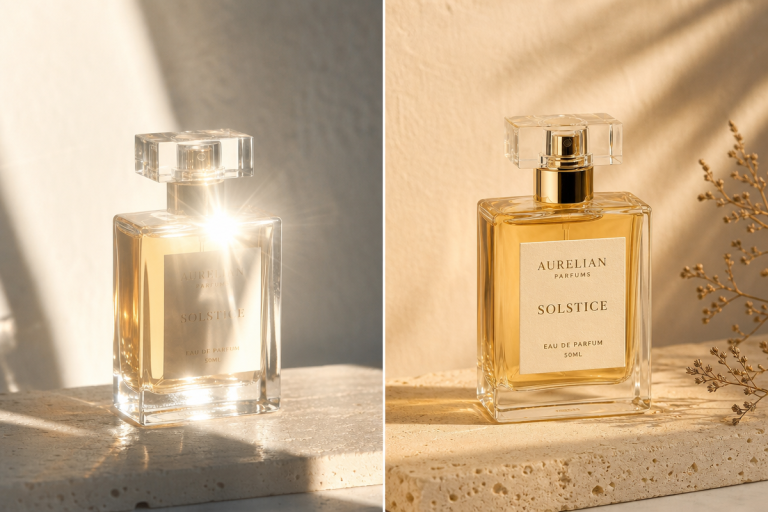
Image: Requiem for a Dream
Picture a portrait: the subject’s face catching warm, even light from a panel just off-camera, their eyes holding a soft catchlight, the background settling into a gentle gradient of shadow. Nothing harsh. Nothing clinical. Just the kind of light that makes a viewer believe the scene is entirely real. That image used to require a professional studio hire, a gaffer, and a grip cart full of tungsten fixtures. In 2026, it’s achievable in a spare bedroom with a continuous lighting kit photography setup that costs less than a night out.
Here’s the number that changes everything: CRI ratings of 96 to 97 are now broadly achievable across mid-range LED panels. Colour Rendering Index measures how faithfully a light source reveals the true colours of subjects compared to natural sunlight – a score of 100 is perfect. For most of the LED era’s early history, budget kits hovered around CRI 80 to 85, which meant skin tones looked slightly wrong, fabric colours shifted, and no amount of post-production could fully rescue the footage. That threshold has now moved significantly, and it reshapes what any independent creator can achieve without a studio budget.
What Continuous Lighting Actually Does (and Why It’s Different From Flash)
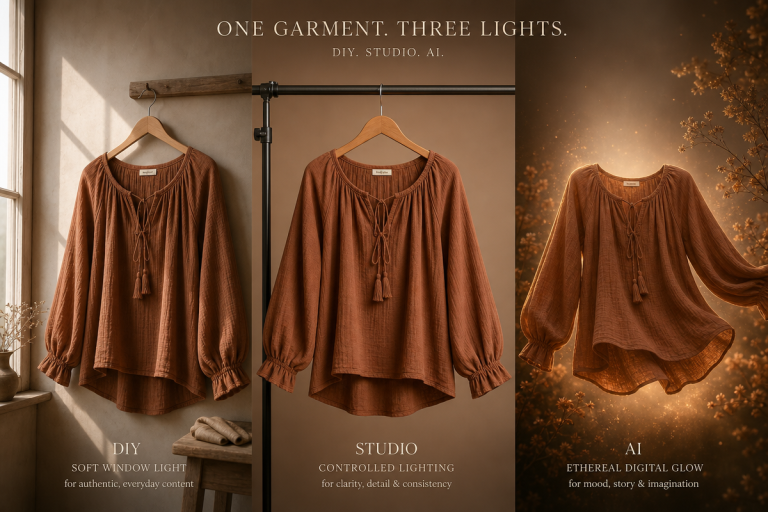
Image: Requiem for a Dream
Continuous lighting is exactly what it sounds like: light that stays on. Unlike strobes and speedlights, which fire in brief bursts, continuous sources illuminate a scene in real time. What we see through the viewfinder – or on a monitor – is what we get in the final frame. This makes it invaluable for video, live streaming, and photographers who prefer to compose and adjust by eye rather than by test shot.
The craft principle here is the same one Rembrandt understood when he positioned sitters near north-facing windows. He was using continuous, diffuse daylight to reveal form through shadow gradients. Modern LED panels replicate that quality of light with far greater control. We can dial a panel from 3200K tungsten warmth – the colour of candlelight and golden-hour sun – all the way to 5600K daylight or beyond. Some kits extend that range considerably: the GVM 100W spans 2300K to 6800K, and the ALTSON 50W stretches to an extraordinary 8500K, useful for matching overcast sky light or creating cool, clinical aesthetics for commercial work.
Understanding colour temperature as a creative decision, not just a technical setting, changes how we work. Warm light reads as intimate and nostalgic. Cool light reads as contemporary, precise, slightly detached. Matching and deliberately mismatching these temperatures is one of the first tools a cinematographer reaches for – and it’s now a slider on a mid-range LED panel.
The Best Continuous Lighting Kits for Photography and Video in 2026
The kits that genuinely earn their place on any shortlist are the ones that survive messy, real-world conditions – not just lab benchmarks. The NEEWER 2-Pack Bi-Colour 660 LED Video Light and Stand Kit performs consistently across the scenarios that actually occur: cramped apartment interviews where stands have to be tucked into corners, and open studio setups where output and evenness matter most. When a single kit needs to perform in both contexts without swapping rigs, that versatility carries more weight than raw wattage.
For beginners, the barrier to entry is now low. The NiceVeedi 25W LED Video Light Kit offers a 2900K to 7000K range at a lower wattage and price point – a genuine starting point for photographers moving their first product shots away from a kitchen window. A basic setup with a single LED panel and a shoot-through umbrella can be assembled for well under $100. The economics of professional-quality light have shifted considerably, and that’s worth pausing on.
RGB-capable kits – the NEEWER 660 PRO II and ALTSON 50W being strong current examples – add a creative dimension that goes well beyond colour temperature adjustment. Full-spectrum colour effects allow for coloured rim lights, creative background washes, and the kind of neon-tinged portraiture that references the visual language of Wong Kar-wai films or Richard Mosse’s infrared photography work. These aren’t gimmicks when used with intention. They’re a direct extension of the gel tradition in theatrical and film lighting – a tradition that predates cinema itself.
Power flexibility also divides the field meaningfully. For location work where AC power isn’t available, the NEEWER 13-inch panel includes a built-in 4000mAh battery. For studio setups where mounting modifiers – softboxes, grids, fresnel attachments – is part of the workflow, the GVM 100W supports a Bowens mount, the industry-standard attachment system. These distinctions matter when building a kit that will grow with a practice rather than need replacing.
Four Setups Worth Knowing
Theory only takes us so far. What follows are four practical configurations we return to constantly, with the specific choices that make each one work.
One-Light Portrait
This is the setup that teaches us the most. Position a single LED panel – through a shoot-through umbrella or a small softbox – at roughly 45 degrees to the side and 45 degrees above the subject’s eye line. Distance matters: at around 60 to 90 centimetres, the light is large relative to the subject’s face, producing soft gradients rather than hard edges. Further away, it grows harder and more directional. Set the colour temperature between 3800K and 4500K – warm enough to flatter skin without veering into amber. On a mirrorless or DSLR, we typically start at f/2 to f/2.8, ISO 400 to 800, and a shutter speed of 1/100s. The shadow falling across the unlit side of the face is not a problem to fix – it’s doing the work of revealing three-dimensional form. Let it sit.
Two-Light Interview
Add a second panel and the dynamic shifts immediately. The key light stays in its 45-degree position. The fill light comes from the other side at roughly 1:3 intensity – meaning the fill is one stop dimmer than the key. Both panels at 5000K to 5600K give a clean, neutral result that reads well on camera sensors. Optionally, a third small panel placed behind and above the subject at a cooler temperature (6500K) separates them from the background and adds depth. For camera settings in a static interview: f/2.8 to f/4, ISO 400, shutter at 1/50s. The tighter aperture keeps the whole face in focus across small movements.
Small Product Scene
Place the key light at 90 degrees to the product – this side-angle rakes across surfaces and reveals texture, which is exactly what we want for fabric, skin care packaging, or textured materials. A white foam-core reflector card opposite the light bounces soft fill back across the shadow side. Colour temperature at 5000K to 5600K gives the most accurate colour rendering for product work where we want the audience to trust what they’re seeing. Camera: f/8 to f/11 for depth, ISO 100 to 200 for clean files, and a tripod – at these apertures, any camera movement shows. The discipline of this setup is restraint: we’re not adding drama, we’re revealing the object.
Phone and Window: No Kit Required
The phone setup has its own logic. Position the subject directly facing a window with soft, diffuse daylight – overcast days are ideal, direct sun is not. Stand the phone at 45 degrees to the subject rather than straight on, and hold the angle at roughly eye level to avoid unflattering downward perspective. If the shadow side looks too dark, a sheet of white paper or a white wall opposite the window acts as a natural fill. Where we do bring in an LED panel, set it to match the ambient daylight (5600K), place it at 45 to 60 centimetres from the subject, and use it at low power – just enough to lift the shadow, not overwhelm the window light. Portrait mode on a modern phone sensor handles depth separation well in this setup. The one exposure adjustment worth making manually: lock exposure on the subject’s face rather than the bright window behind them.
The Specifications Most Buyers Overlook
Brightness, colour temperature range, and price are the metrics that appear in every comparison. Fan noise almost never does – until it ruins a recording. In a video production context, a continuous light that produces an audible hum is a problem that cannot be fixed in post. When evaluating any LED panel for video use, test fan noise under load – at maximum brightness, where thermal management works hardest – not just as a footnote.
The second specification that deserves more attention is TLCI – Television Lighting Consistency Index. Where CRI measures colour accuracy against a set of standard test colours, TLCI is specifically calibrated for how light reads to camera sensors rather than to the human eye. A panel might score well on CRI but render less accurately on a camera’s colour matrix. For photographers editing stills, CRI is the more relevant number. For video and broadcast work, TLCI should carry equal weight in the decision.
Build quality connects directly to longevity and workflow fluency. A stand that wobbles undermines confidence in the rig. Barn doors that slip out of position mid-shoot create continuity problems. These details don’t appear in specification sheets but determine whether a kit supports creative flow or fights against it.
Getting light placement right matters as much as the kit itself. The best way to compose your photographs applies equally to lighting: understanding where not to place a light is as revealing as knowing where to position it. Strong continuous lighting also gives cleaner files with more latitude in post – which matters enormously when we’re doing product retouching in Photoshop or tackling reflections in commercial photography. For video editors building narrative content, pairing well-lit footage with documentary-style motion graphics in After Effects creates work that holds up at a professional standard.
The question we started with was whether a continuous lighting kit can genuinely bridge the gap between amateur and professional results without a studio budget. The answer, in 2026, is yes – but only when the kit is chosen against real criteria rather than marketing copy. Brightness that holds up under pressure. CRI and TLCI scores above 95. Fan noise tolerable during a long interview. Build quality that earns trust across dozens of shoots. The gap between a well-lit home setup and a professional production has narrowed to the distance between a considered purchase and an unconsidered one.
Frequently Asked Questions
Q: What is a continuous lighting kit and how is it different from flash lighting?
A: A continuous lighting kit provides constant, steady illumination that stays on throughout a shoot, allowing you to see the light’s effect in real time. Flash and strobe lighting fires in brief bursts and requires test shots to assess results. Continuous kits are particularly suited to video, live streaming, and photographers who prefer to adjust composition and exposure by eye.
Q: What CRI rating should I look for in a continuous lighting kit for photography?
A: Aim for a CRI of 95 or above for accurate colour rendering. For video work, also check the TLCI score, which measures colour accuracy as it reads to camera sensors rather than to the human eye.
Q: How much does a basic continuous lighting setup cost?
A: A single LED panel with a shoot-through umbrella can be assembled for well under $100. More capable bi-colour kits with stands and broader colour temperature ranges, such as the NEEWER 2-Pack 660 LED Video Light Kit, offer considerably more flexibility at a mid-range price point accessible to independent creators.
Q: What colour temperature range do I need for portrait and video work?
A: The standard 3200K to 5600K range covers tungsten warmth through daylight and handles the majority of creative and practical scenarios. If you shoot in varied locations or want to match unusual ambient light, kits extending to 6800K or beyond offer additional flexibility without significant cost increases.
Q: Are RGB continuous lighting kits worth the extra cost?
A: RGB kits are worth considering for creative portraiture, product photography with coloured accents, or social content that benefits from stylised colour effects. For straightforward interview, documentary, or product work, a high-quality bi-colour kit will deliver more practical value – RGB adds creative range, not core technical performance.
Source: https://www.requiemforadream.com/best-continuous-lighting-kits-for-filmmakers/
This article was researched and written with AI assistance, then reviewed for accuracy and quality. Talulah Menser uses AI tools to help produce content faster while maintaining editorial standards.