Last updated: May 29, 2026

Image: Arzuz Creation
Picture a portrait that should be warm and golden – the kind of late-afternoon light that wraps itself around a face like a painting. Instead, it reads flat. The skin has an unpleasant orange cast from a tungsten lamp. The whites look sickly yellow. The whole image feels like it was shot through a dirty window. Most photographers reach for Curves or Hue/Saturation at this point. But the tool that solves this problem most directly – and most elegantly – is one that many people walk straight past: Colour Balance.
A proper Photoshop colour balance tutorial does not begin with sliders. It begins with understanding what colour actually is inside a photograph, and why fixing it is less like painting over a wall and more like tuning a musical instrument.
Before We Open Photoshop – Capture Choices That Shape the Grade
Image: Arzuz Creation
The colour we correct in post is largely determined by decisions made before the shutter fires. Getting these right does not eliminate the need for grading – it gives us better material to work with.
Shoot RAW wherever possible. A RAW file preserves the full tonal and colour data captured by the sensor. A JPEG bakes in the camera’s processing immediately, compressing colour information and limiting how far we can push a grade without introducing artefacts. This applies equally to mirrorless cameras, DSLRs, and modern smartphones – iPhones and Pixel phones both offer RAW or ProRAW modes in their native camera apps or through third-party apps like Halide.
Set white balance deliberately, not on Auto. Auto White Balance reads the scene and attempts to neutralise colour casts – which is exactly what we do not want when shooting golden hour, because the camera strips out the warmth that makes the image interesting. During golden hour, colour temperature falls to roughly 3000-4000K [citation needed], producing the amber and orange tones that define the look. Setting white balance manually to Daylight (around 5500K) preserves that warmth rather than neutralising it. Conversely, in mixed indoor lighting, locking to Tungsten (3200K) prevents the worst orange spill before it compounds in post.
For phone shooters without manual white balance: shoot in the warmest available mode, or use a neutral grey card against the light source and tap to lock exposure and focus before framing the shot. Small adjustments in Lightroom Mobile before opening Photoshop can save significant effort.
Why Colour Casts Happen – and Why They Matter
Colour casts are not accidents. They are physics. Every light source has a colour temperature, measured in Kelvin, and when the camera’s white balance does not match the dominant light in a scene, the entire image shifts. Tungsten bulbs push yellow and red into everything. Overcast skies flood shadows with blue. Even the reflected light from green foliage can tint skin in ways the eye never noticed on location.
The problem is compounded by how we edit. Photographers who understand light direction and quality for better photos know that the quality of light in-camera is only the starting point – the real control comes in post. But if we correct the overall white balance coarsely, we often solve the highlights while leaving the shadows too cool, or warm the midtones while blowing out the whites. Colour Balance addresses this with surgical precision because it separates the image into three distinct tonal ranges: Shadows, Midtones, and Highlights. We can warm the highlights independently of the shadows. We can cool the deep blacks without touching the skin.
This is the insight that separates reactive colour correction from intentional colour grading. We are not adjusting the image as a single flat object. We are adjusting three separate layers of tonal reality, each with its own colour world.
How to Use the Colour Balance Tool Correctly
Always use Colour Balance as an Adjustment Layer – never apply it directly. Go to Layer > New Adjustment Layer > Colour Balance, or click the Colour Balance icon in the Adjustments panel. This keeps our edits non-destructive, meaning we can return, revise, and refine at any point without degrading the original pixels. Pressing Ctrl+B (Cmd+B on Mac) applies the adjustment destructively and should be avoided in any workflow where revisability matters.
Once the panel is open, we see three sliders, each operating on complementary colour relationships. The top slider moves between Cyan and Red. The middle between Magenta and Green. The bottom between Yellow and Blue. These are not arbitrary pairings – they map directly onto the colour wheel. Push one colour and we simultaneously pull its opposite. This is colour theory in its most applied form: the same logic that tells a painter to place a warm orange next to a cool blue to make both sing.
Before touching any slider, activate “Preserve Luminosity” at the bottom of the panel. This single checkbox ensures that colour shifts do not inadvertently brighten or darken the image. Without it, a strong Blue push in the shadows will also darken them. With it, only the hue changes.
A useful diagnostic technique: temporarily boost Saturation to +50 using a Hue/Saturation Adjustment Layer. This amplifies any hidden colour tints in the image, making them visible and identifiable before we correct them. Once we have identified the problem colours, reduce the Saturation layer back to zero and begin Colour Balance work with a clear target.
Two Image Scenarios – Seeing the Thinking in Action
Scenario one: the tungsten indoor portrait. The subject is lit by a warm household lamp. Skin looks orange, whites look yellow, and the background has taken on an amber haze. We open Colour Balance and select Midtones – this is where the skin lives, in the middle exposure zones. We push the bottom slider toward Blue by +12 and the top slider toward Cyan by +8. The orange dissolves. We then move to Highlights and pull back slightly toward Yellow by -5 to restore warmth in the catchlights and hair. The result: neutralised skin in the midtones, with just enough warmth retained in the brightest zones to keep the image feeling lived-in rather than clinical. Toggle the Adjustment Layer on and off to compare.
Scenario two: the overcast outdoor portrait. Flat grey light has pushed blue into every shadow and flattened the skin to a cool, uninviting grey. We select Shadows in Colour Balance and pull back toward Yellow and Red – small shifts of +8 on Red, +6 on Yellow. This lifts the shadows away from the cold blue cast. In Midtones, we add +5 Red and +5 Yellow to bring warmth back into the skin. The image does not become artificially sunny; it simply stops looking like the subject is standing in a morgue. Composition and posing choices – explored in portrait work focused on posing and lighting – work best when the colour grade reinforces rather than fights the emotional tone established by the light.
Cinematic Split-Toning – The Creative Grade
The cinematic look that defines modern photography and film is built on split-toning. Add cool tones to shadows. Add warm tones to highlights. The two ranges pull in opposite directions, creating depth and visual contrast that feels deliberate.
In the Colour Balance panel, select Shadows. Push Blue toward +15 and Cyan toward +10. Now select Highlights. Push Red toward +10 and Yellow toward +10. Toggle the layer to compare. The shadows have cooled to a deep teal-blue. The highlights have taken on a warm, golden character. The gap between them creates the kind of tonal depth seen in high-end editorial photography and feature films.
Think of it like the temperature contrast between a warm hearth and a cold window in a winter painting – that tension is what gives a scene atmosphere. The split between warm highlights and cool shadows is not just a technical decision; it is an emotional one. It tells the viewer whether they are watching something hopeful or something melancholy, something golden or something cold. The Flemish painters understood this intuitively; Vermeer’s interiors glow precisely because the light sources are warm and the shadows retreat into cool blue-greys.
This technique works across genres. For portraits, a subtle split-tone can lift skin tones in the highlights while grounding the image with moody shadows. For flat lay photography, a warm-toned highlight correction can make product whites feel luxurious rather than clinical.
Skin tone correction lives in the Midtones range. A slight push toward Red and Yellow in Midtones can warm a face that has been flattened by overcast light. A push toward Cyan in Midtones can neutralise the red blotchiness that appears in harsh direct sun. The key is restraint: shifts of 5-10 points in Midtones have a significant effect on perceived skin health.
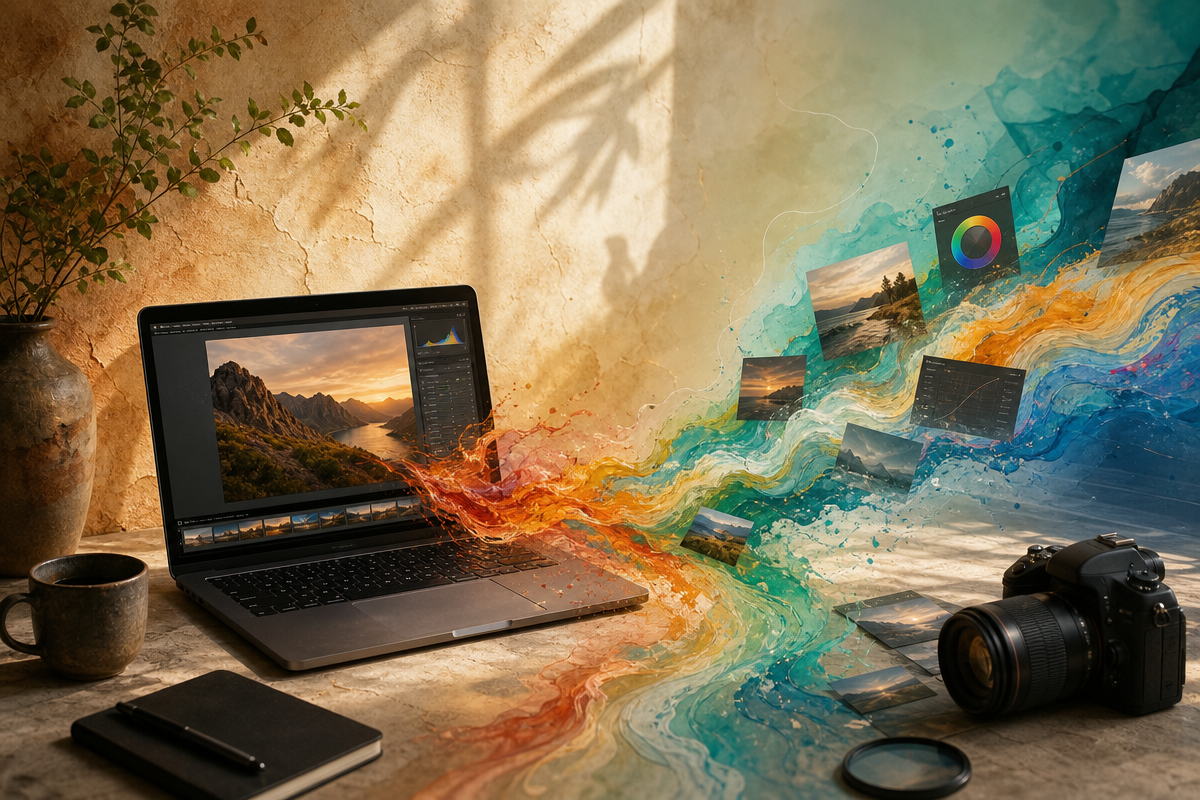
Building a Repeatable Colour Workflow
Colour Balance does not work in isolation. It is one instrument in an orchestra. A typical workflow stacks adjustments: Curves to set overall contrast and exposure, Colour Balance to correct tonal colour casts and establish creative grades, Hue/Saturation to fine-tune specific colours (particularly skin), and Selective Colour for precise control over individual colour ranges.
The advantage of working with Adjustment Layers throughout is that every decision remains revisable. A client requests a warmer grade? Revisit the Colour Balance layer. The art director wants a cooler, more Nordic feel? Slide the Highlights toward Blue and let the shadows carry the image into cold. Nothing is permanent until we choose it to be.
That portrait with the orange tungsten cast – the one that looked like it was shot through dirty glass – becomes a different image entirely. Cool shadows anchor the frame. Warm highlights kiss the skin with something close to natural afternoon light. The whites are clean. The mood is intentional.
Colour is not decoration. It is the emotional temperature of an image, and Colour Balance is the thermostat.
Frequently Asked Questions
Q: What is the difference between Colour Balance and Curves in Photoshop?
A: Curves controls the tonal range (exposure, contrast) and can also affect colour by adjusting individual colour channels. Colour Balance is purpose-built for colour shifting within specific tonal ranges – Shadows, Midtones, and Highlights – making it faster and more intuitive for colour correction and creative grading.
Q: Should we always use Preserve Luminosity in Colour Balance?
A: In most retouching and correction work, yes. Preserve Luminosity ensures that pushing a colour does not unintentionally darken or brighten the image, keeping the tonal relationships intact while only the colour shifts. Disable it only when a deliberate brightness change alongside the colour shift is the goal.
Q: How do we fix an orange colour cast from indoor lighting using Colour Balance?
A: Select Midtones in the Colour Balance panel, then push the bottom slider toward Blue and the top slider toward Cyan. This counteracts the excess Yellow and Red introduced by tungsten or warm artificial lighting. Work in increments of 10-15 points and compare with the layer toggled on and off.
Q: What is split-toning and how do we achieve it with Colour Balance?
A: Split-toning applies different colour temperatures to the shadows and highlights of an image, creating depth and cinematic contrast. In Colour Balance, add Blue and Cyan to Shadows, then add Red and Yellow to Highlights. The resulting tension between warm highlights and cool shadows is a signature of high-end editorial and cinematic photography.
Q: Why should we avoid using Ctrl+B for Colour Balance?
A: Pressing Ctrl+B applies Colour Balance directly to the pixel layer, making the change permanent and non-reversible. Using an Adjustment Layer instead keeps the edit fully editable, non-destructive, and adjustable at any stage.
Q: Does shooting RAW really matter for Colour Balance work?
A: It makes a meaningful difference. RAW files retain full colour data, giving Colour Balance more to work with and allowing larger shifts without visible artefacts or colour banding. JPEG files have already had colour information compressed, which limits how far the grade can go. That said, shooting in ProRAW mode on a modern smartphone brings most of these benefits to mobile photographers too.
Source: https://arzuzcreation.com/2026/05/10/adobe-photoshop-colour-balance-pro-photo-editing-tutorial-2026/
This article was researched and written with AI assistance, then reviewed for accuracy and quality. Talulah Menser uses AI tools to help produce content faster while maintaining editorial standards.